


Views: 0 Author: Site Editor Publish Time: 2026-08-24 Origin: Site


Precision work—whether automotive paint correction, vinyl wrapping, or intricate mechanical assembly—is fundamentally limited by your ability to see surface defects and spatial depth without optical interference. Traditional linear shop lighting and single-point fixtures create harsh, directional shadows. These shadows obscure lower panels, engine bays, and complex geometries, forcing you to constantly reposition portable work lights. Conversely, over-illuminating a space without proper diffusion creates blinding glare that washes out critical surface details and causes severe eye fatigue over a long shift. Achieving total shadow control requires a complete shift from directional lighting to multi-axis diffusion. We will evaluate how implementing hexagrid working lighting solves these shadow management challenges. You will learn the exact technical specifications, layout strategies, and environmental controls required to build a professional-grade illumination setup that eliminates blind spots.
Multi-Axis Diffusion: Hexagrid systems utilize interlocking geometric patterns to cast light from multiple overlapping angles, naturally filling shadows without requiring secondary bounce panels.
Specification Priorities: Effective shadow control relies on high Color Rendering Index (CRI > 90), consistent color temperature (typically 5000K–6500K), and optimal lumen density rather than sheer brightness.
Zonal Control & Shadow Linking: Advanced setups integrate dimmable zones, allowing technicians to manipulate light fall-off, isolate specific panels, and intentionally create micro-shadows for defect inspection.
Implementation Reality: Proper shadow elimination requires establishing a "blank canvas" by controlling ambient light, precise calculation of suspension height, and integration with supplementary inspection lighting.
Understanding shadow management requires a practical grasp of light mechanics. Shadows consist of two distinct parts: the umbra, which is the fully shaded inner region, and the penumbra, the partially shaded outer region. Single-point light sources, such as traditional high-bay fixtures or bare bulbs, cast light from a single vector. This creates a massive umbra with high-contrast, hard edges. When you look at a curved fender or a complex mechanical assembly under a single-point light, that hard shadow line looks exactly like a dent or a panel misalignment. You waste time second-guessing the surface.
Diffuse illumination operates on a completely different physical principle. By increasing the physical surface area of the light source relative to the object being illuminated, the light wraps around the subject. This expands the penumbra and shrinks the umbra, resulting in soft shadow transitions. Soft edges reduce optical fatigue. Your eyes do not have to constantly adjust between blinding hot spots on a roof and pitch-black shadows in a wheel well. You can process complex geometries naturally.
Failing to manage these shadow transitions impacts your workflow in several ways:
Hard shadows create false edges that hide actual physical defects.
High-contrast lighting environments accelerate operator eye strain.
Constant repositioning of portable lights destroys operational throughput.
Standard linear lighting, including T8/T5 fluorescent tubes and basic linear LEDs, fails to manage shadows effectively due to their physical layout. Linear fixtures emit light in a restricted, unidirectional pattern. When installed in parallel rows across a ceiling, they create alternating bands of high illumination and deep shadow.
On highly reflective surfaces, such as automotive clear coats or polished metals, this creates a severe striping effect. The gaps between the linear fixtures manifest as dark zones on the working surface. If a sanding mark, a swirl, or a high spot in a ceramic coating falls within one of these dark zones, you will not see it until the vehicle rolls outside into the sun. Missed defects lead to mandatory rework, and rework compromises your quality control standards.
Lighting Architecture Comparison
Fixture Style | Light Vector | Shadow Edge Quality | Surface Reflection Pattern |
|---|---|---|---|
Single-Point High Bay | Unidirectional | Hard / High Contrast | Intense localized hot spot |
Linear Tubes (T8/LED) | Bi-directional | Medium / Banded | Harsh striping with dark gaps |
Interlocking Geometric Grid | Multi-axis (360-degree wrap) | Soft / Diffused | Continuous, gapless reflection |
You cannot manage shadows if you do not control the ambient environment. Sunlight is dynamic. Its intensity, angle, and color temperature shift continuously throughout the day. Direct sunlight can easily exceed 10,000 lux. When afternoon sunlight blasts through a bay door and mixes with your overhead artificial lighting, it completely disrupts your established light fall-off calculations.
This introduces unpredictable, shifting shadows that move across your workspace. To achieve absolute optical control, you must establish a blank canvas. Block external light sources using blackout curtains, opaque bay doors, or heavy window tinting. A multi-axis lighting setup performs optimally only when you dictate 100% of the room's photometric variables. Without this baseline, even the most advanced overhead grid will struggle against the overpowering, directional nature of direct sunlight.
The geometric advantage of a hexagonal light pattern lies in its interconnected nodes. Unlike square grids that only provide light from 90-degree off-axis angles, hexagons tessellate. They provide light from 60-degree and 120-degree vectors simultaneously. This creates a continuous web of illumination that attacks shadows from multiple angles.
When you lean over a workbench or a vehicle panel, your body naturally blocks the overhead light. In a standard setup, you cast a hard shadow directly over your hands, obscuring your work. In a hexagrid system, the interconnected nodes ensure that if light from one angle is obstructed by your shoulder, adjacent tubes immediately fill the resulting shadow from overlapping vectors. This continuous, gapless illumination wraps around complex 3D objects, illuminating vehicle contours, deep engine bays, and intricate machinery without requiring secondary bounce boards.
Light fall-off is governed by the inverse-square law. The intensity of light is inversely proportional to the square of the distance from the source. Light loses intensity rapidly as it travels from the ceiling to the floor. Overhead grid lighting combats this physical limitation through massive lumen density distributed over a wide surface area.
The dense arrangement of tubes in a hexagrid maintains a higher, more consistent lux level across vertical planes, such as doors and side panels, compared to widely spaced linear lights. By distributing the lumen output across hundreds of linear feet of illuminated surface area, the system pushes usable light further down the vertical axis before it falls off into shadow. You must match your lumen density to your specific operational tasks to ensure adequate visibility at the floor level.
Recommended Lux Levels for Shop Tasks
Task Type | Minimum Lux Requirement | Primary Lighting Source |
|---|---|---|
General Mechanical Assembly | 750 Lux | Overhead Ambient Grid |
Vinyl Wrapping & PPF | 1,000 Lux | Overhead + Wall Grids |
Paint Correction & Inspection | 1,500+ Lux | Full Grid + Point-Source Lights |
The Color Rendering Index measures a light source's ability to reveal the true colors of objects compared to an ideal or natural light source. For environments requiring precision surface inspection, CRI is just as critical as shadow control. A minimum rating of 90+ CRI is non-negotiable for professional car detailing lights and inspection stations.
Low CRI lighting causes severe color shifting. Under a 70 CRI light, red paint looks muddy, and metallic flakes lose their pop. You cannot perform accurate paint matching or identify subtle clear coat defects under these conditions. High CRI correlates directly with your ability to distinguish between micro-marring, buffer holograms, and actual physical shadows. When the light accurately renders the surface, the contrast between a scratch and the surrounding paint becomes stark and easily identifiable.
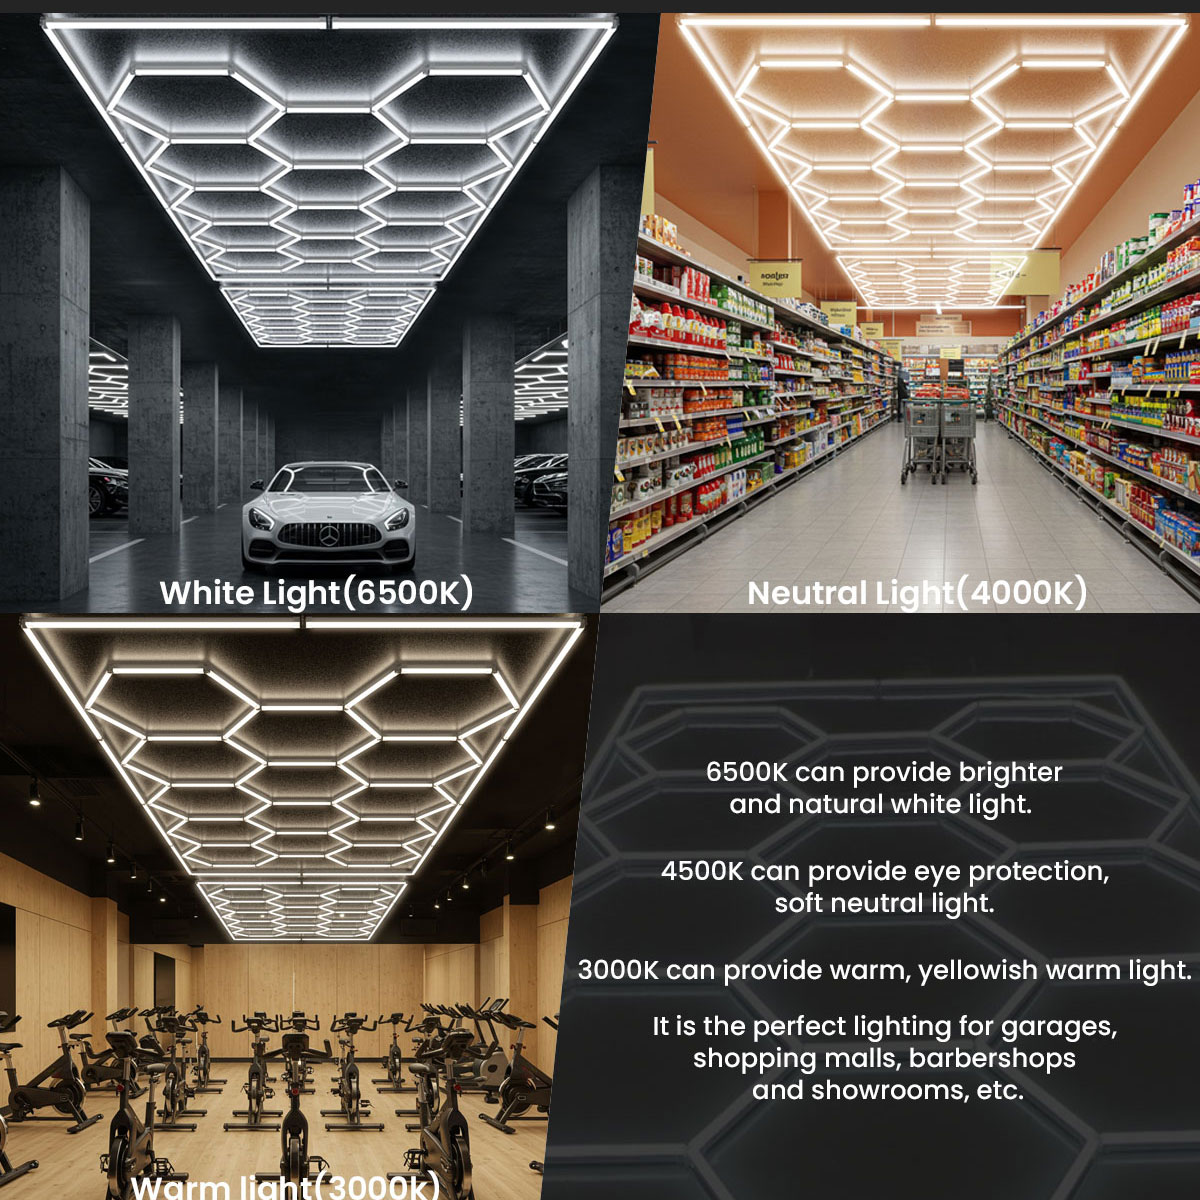
Color temperature, measured in Kelvin, dictates the visual warmth or coolness of the light. The ideal range for simulating daylight and maximizing surface contrast is between 5000K and 6500K. This specific spectrum visually opens up shadows. Your eyes perceive depth better under crisp, cool-white light, allowing you to see into dark wheel wells or complex mechanical assemblies without needing to dangerously increase the sheer lumen output.
Consistency across the grid is paramount. LED binning is the manufacturing process of sorting LED chips by color and output. Lower-tier grids often suffer from poor binning, resulting in visible color temperature variations across different tubes. A grid that mixes 5500K tubes with 6500K tubes creates uneven lighting, visual fatigue, and false shadows. Always verify the binning standards of your fixtures before installation.
Different stages of precision work require different lighting intensities. Flooding a space with maximum lumens is excellent for general assembly, but terrible for final defect inspection. Advanced installations utilize dimming capabilities and zone control to manipulate light intensity on demand.
This enables physical shadow linking. You wire the honeycomb LED lights into distinct, independently controlled zones to break the casting of shadows on a per-object basis. You can selectively darken the overhead ceiling zone while pushing the side wall zones to maximum output. This creates intentional, controlled micro-shadows across horizontal surfaces. You need these micro-shadows to spot specific high spots in ceramic coatings, subtle dents in sheet metal, or uneven sanding marks that become completely invisible under flat, 100% omnidirectional light.
Relying solely on ceiling-mounted installations leaves lower vertical panels in partial shadow due to the steep angle of incidence. To achieve comprehensive shadow elimination, the grid must extend beyond the ceiling. The light tunnel approach solves this by extending the geometric grid down the side walls, providing 180-degree or even 270-degree illumination around the primary work zone.
When constructing a light tunnel, the distance between the wall-mounted grid and the target object is critical. Mounting the lights too close to the vehicle or workbench causes severe glare and hot spots. A standard offset of 36 to 48 inches from the primary working surface allows the light cones to intersect and diffuse properly before hitting the target. This maximizes shadow fill while protecting your vision from direct diode exposure.
The optimal drop height of a suspended grid depends entirely on your ceiling height and the primary working surface elevation. Most individual LED tubes used in these systems feature a beam angle between 120 and 180 degrees. This angle dictates how far the light spreads before losing effective intensity.
If you mount the grid too high, the light cones overlap too early, and the inverse-square law diminishes the lux level before it reaches the floor. This results in deep shadows on lower panels. If you mount it too low, the light cones do not overlap sufficiently, creating hot spots on the roof of a vehicle or the center of a workbench. Position the grid 9 to 10 feet above the finished floor. This height allows a 120-degree beam angle to provide adequate overlap for seamless diffusion while maintaining high lux density at a standard 36-inch workbench height.
Overhead grids do not replace all other lighting tools. Hexagrids function as foundational ambient lights. Their primary job is to eliminate environmental shadows and provide a high-fidelity base layer of illumination. They are not total replacements for directional inspection tools.
To achieve flawless surface correction, you must pair the shadow-eliminating properties of the grid with handheld or stand-mounted point-source lights. Once the ambient shadows are neutralized by the grid, use a high-intensity, single-point inspection light to intentionally cast harsh, localized shadows across micro-scratches. This dual-lighting strategy ensures that you have total control over both the ambient environment and the specific defect inspection process.
The primary trade-off of high-density lighting is the increased risk of operator glare. Pushing thousands of lumens through a concentrated geometric pattern can cause eye strain during prolonged exposure. When the light source is too intense, your pupils constrict, ironically making it harder to see into the very shadows the system is designed to eliminate.
Mitigation requires physical light modifiers. Utilizing frosted polycarbonate diffusers on the hexagonal LED lights, rather than clear transparent covers, is essential. The frosted material acts as a secondary diffusion layer, scattering the light rays just before they exit the tube. This slightly reduces peak lumen output but significantly softens light transitions and eliminates the harsh glare that causes optical fatigue.
Running extensive lighting systems introduces strict electrical realities. A full-room light tunnel draws a substantial amount of continuous power. You must calculate the total amperage required for the entire system before installation. Overloading a single circuit leads to voltage drop, which causes the LEDs furthest from the power supply to dim, reintroducing shadows into the workspace.
Large grids must be divided across multiple breakers using proper gauge wiring to prevent overheating and ensure uniform light output. Compliance with local electrical codes is mandatory. Ensure all power supplies, drivers, and connectors carry legitimate UL or CE certifications to mitigate fire risks associated with continuous, high-draw commercial operation.
Physical installation presents structural risks. While individual tubes are light, a massive interconnected grid spanning hundreds of square feet carries significant cumulative weight. You must evaluate your ceiling material integrity. Direct mounting to drywall using basic anchors is prone to failure under the weight and thermal expansion of the grid.
Installation requires lightweight aluminum or rigid polycarbonate framing anchored directly to ceiling joists or steel trusses. When HVAC ducts, fire suppression sprinklers, or uneven ceilings obstruct a direct mount, suspended cable installations become necessary. Using aircraft cable and adjustable toggles allows the grid to hang level below obstructions while maintaining the precise suspension height required for optimal shadow control.
Install blackout curtains or heavy window tinting to eliminate uncontrolled ambient light and establish a reliable photometric baseline.
Measure the exact dimensions of your primary work zone to calculate the required lux and determine the optimal suspension height for your grid.
Select fixtures with a verified CRI above 90, uniform LED binning, and frosted diffusers to prevent color shifting and operator glare.
Map out a zoned, dimmable wiring schematic divided safely across multiple electrical breakers to enable shadow linking during inspections.
Mount the grid using rigid aluminum framing and aircraft cable anchored directly to structural joists to ensure long-term stability.
A: While they drastically reduce ambient and directional shadows through multi-axis diffusion, complete elimination requires a combination of overhead grids, wall-mounted grids, highly reflective flooring, and the removal of competing natural light.
A: It depends on the total square footage and wattage of the grid. Small ceiling setups may run safely on a 15-amp circuit, but full-room light tunnels usually require dedicated 20-amp circuits or multiple breakers to prevent voltage drop and overheating.
A: This is caused by poor LED binning during manufacturing. Lower-quality chips have wider variances in color temperature. Always source fixtures with strict binning standards to ensure uniform color across the entire grid.
A: Yes. Frosted diffusers scatter the light, softening shadow edges and significantly reducing operator glare. Clear covers maximize lumen output but create harsh reflections that can hide surface defects on glossy materials.
A: Vertical wall grids should generally be mounted 36 to 48 inches away from the primary working surface. This distance allows the light cones to intersect and diffuse properly, preventing hot spots on the side of the object.
A: Yes. Hexagrids provide flawless ambient diffusion, but final quality control often requires a single-point inspection light to intentionally cast harsh micro-shadows across tiny scratches or sanding marks.


