


Views: 0 Author: Site Editor Publish Time: 2026-09-25 Origin: Site


Purchasing a lighting kit only to realize the scale is entirely wrong for your room is a frustrating experience. You unbox the panels, map them out, and suddenly realize they look overwhelmingly large in a tight gaming nook or awkwardly sparse across a massive basement wall. Getting the proportions wrong ruins the intended aesthetic and wastes your budget.
Poor sizing carries both financial and visual risks. Buying too few panels leaves the wall looking unfinished and disconnected from the rest of the room. Over-purchasing leads to immediate technical headaches. You run into power supply bottlenecks, voltage drops, and cable management nightmares. You end up with hardware you cannot efficiently power or mount.
To avoid these pitfalls, you need a structured evaluation framework. Matching your wall dimensions to the correct panel quantity requires more than just measuring square footage. You must factor in power limitations, layout geometry, physical panel dimensions, and the primary purpose of the room. By evaluating these elements, you can design a lighting setup that fits your space perfectly.
Total wall dimensions rarely represent your actual working canvas. A wall might measure ten feet by ten feet, giving you one hundred square feet of total space. However, once you account for a bed frame, nightstands, a computer desk, wall-mounted monitors, and existing artwork, your available space shrinks dramatically. You must subtract these elements to find your usable surface area.
Installers often make the mistake of centering their design based on the total wall width rather than the usable width. If you have a tall bookshelf on the left side of the room, the visual center of the wall shifts to the right. You must measure the blank space that remains after all furniture is placed. This prevents your lighting design from being partially obscured by a monitor or a lamp.
Once you calculate the usable space, establish a strict baseline ratio for your layout. Covering more than thirty to forty percent of the usable wall space often results in visual clutter. RGB hexagon wall lights are designed to be accent pieces, not wallpaper. Leaving adequate negative space around the panels ensures the design stands out and maintains a balanced aesthetic in the room.
Follow these steps to determine your true working canvas:
Room depth drastically alters how the size of your lights is perceived. If you stand two feet away from a wall, a small cluster of panels fills your field of vision. If you stand fifteen feet away in a large living room, that same cluster looks like a tiny glowing dot. You must scale your layout based on where you will actually sit or stand when viewing the wall.
Close-proximity setups, such as desk backdrops or reading nooks, require fewer panels. In these tight spaces, superior light diffusion is mandatory. When you sit close to a light source, you will easily spot individual LED hotspots if the diffusion layer is thin. You want a seamless, uniform glow that does not cause eye strain during long sessions at a desk.
Long-distance viewing in commercial spaces, open-concept living rooms, or large basements demands larger, brighter clusters to make a visual impact across the room. A design that looks great from three feet away will lose its geometric definition from twenty feet away. For deep rooms, you need to build thicker lines or larger solid shapes so the pattern remains recognizable from a distance.
| Viewing Distance | Room Type | Recommended Design Approach |
|---|---|---|
| 1 - 3 Feet | Desk Setup, PC Station | Small clusters, high diffusion, low brightness. |
| 4 - 8 Feet | Bedroom, Small Office | Medium sprawling lines, moderate brightness. |
| 9 - 15 Feet | Living Room, Home Theater | Large geometric shapes, high contrast negative space. |
| 15+ Feet | Garage, Commercial Space | Massive linear runs, maximum lumen output. |
Ignoring the physical size of the panels is a frequent buyer pitfall. Manufacturers produce these lights in various dimensions, and assuming they are all a standard size will ruin your layout planning. Mini panels usually measure around three to four inches across. Standard panels sit in the seven to eight-inch range. Large, commercial-grade panels can exceed twelve inches in diameter.
Choosing the wrong physical panel size makes a layout look cheap and disproportionate. Installing oversized twelve-inch panels in a cramped dorm room makes the space feel smaller and overwhelming. The panels will dominate the wall and leave no room for negative space. Conversely, using three-inch mini panels on a sprawling garage wall makes the installation look weak and insignificant.
You must check the exact specifications before ordering. Cut out a cardboard template matching the manufacturer's dimensions and hold it against your wall. This physical test immediately reveals whether the scale of the panel matches the scale of the room. Match the physical panel diameter to the scale of the wall to maintain proper proportions.
The primary use of the room dictates your required brightness levels. Functional spaces require high visibility. If you are installing lights in a workshop, home gym, or detailing garage, you need high lumen output. The panels must act as primary or secondary light sources, cutting through shadows and illuminating workspaces effectively. In these environments, you want panels that push maximum wattage.
Ambient spaces require the exact opposite approach. Bedrooms, home theaters, and gaming rooms rely on mood lighting. In these environments, smooth dimmability is far more valuable than raw brightness. You need panels that can drop to very low brightness levels without flickering or losing color accuracy. A panel that only dims down to twenty percent brightness will still be too harsh in a pitch-black home theater.
Pay attention to the Color Rendering Index (CRI) if you are using the panels in a functional space. A higher CRI means colors will look more accurate under the light, which is necessary for tasks like painting, detailing cars, or video editing. For purely decorative setups, CRI is less of a concern, but vibrant, saturated RGB output becomes the priority.
Small walls and tight nooks are prime real estate for compact lighting setups. Target applications include gaming desk backdrops, cozy reading corners, and small bedroom accent walls. In these confined areas, you have very little usable canvas. Overcrowding the wall will make the room feel chaotic and visually heavy.
For spaces under fifty square feet, a recommended sizing of five to ten panels is ideal. The layout strategy here should focus on tight, centralized clusters. Compact geometric shapes, like a single large flower or a tight honeycomb block, maximize visual impact without overwhelming the limited space. Keep the design anchored to a focal point, such as directly above a monitor or centered over a small desk.
Avoid sprawling designs in small spaces. If you run a line of panels from edge to edge on a small wall, it visually cuts the wall in half and makes the ceiling feel lower. Keep the layout contained. Use the negative space around the cluster to frame the design and give the room a clean, organized appearance.
Medium accent walls offer more flexibility for creative designs. These spaces typically include standard bedroom walls, home office backgrounds, and living room media centers. You have enough room to stretch the design out, but you still need to be mindful of furniture placement and room flow. You are no longer restricted to a single tight cluster.
A count of twelve to twenty-five panels works best for medium walls. Instead of tight clusters, utilize asymmetrical, sprawling designs. Create branching patterns that stretch diagonally across the wall. This approach creates a significant sense of scale and covers a lot of visual territory without requiring a massive budget for dozens of extra panels.
When designing for a medium wall, consider the architectural lines of the room. If you have a vaulted ceiling, angle your sprawling design to follow the pitch of the roof. If you are placing the lights behind a television, build a layout that radiates outward from the edges of the screen. This integrates the lighting into the room rather than making it look like an afterthought.
Large walls demand a completely different approach to scale and hardware. Target applications include finished basements, home gyms, garage setups, and large commercial spaces. These environments swallow up small lighting kits, making them look completely out of place. You need serious volume to make an impact here.
Expect to use thirty or more panels, which often requires purchasing multiple kits and linking them together. The best layout strategy involves continuous linear patterns or distinct, separated clusters to break up the vast surface area. Because these are often high-use areas, prioritize RGB hexagon lights rated for fifty thousand hours of lifespan to ensure long-term durability.
In massive spaces like garages, you can use the lights to define specific zones. Build one large cluster over the workbench and a separate, sprawling line over the parking area. This zoning technique breaks up the massive square footage and gives the room a structured, custom-built feel. Always map these large designs out with a laser level to ensure your lines stay perfectly straight across long distances.
| Wall Size (Sq. Ft.) | Recommended Panel Count | Ideal Layout Style |
|---|---|---|
| Under 50 | 5 - 10 Panels | Tight clusters, centralized shapes. |
| 50 - 120 | 12 - 25 Panels | Asymmetrical sprawling lines. |
| 120 - 200 | 30 - 50 Panels | Separated zones, long linear runs. |
| 200+ | 50+ Panels | Massive geometric grids, ceiling transitions. |
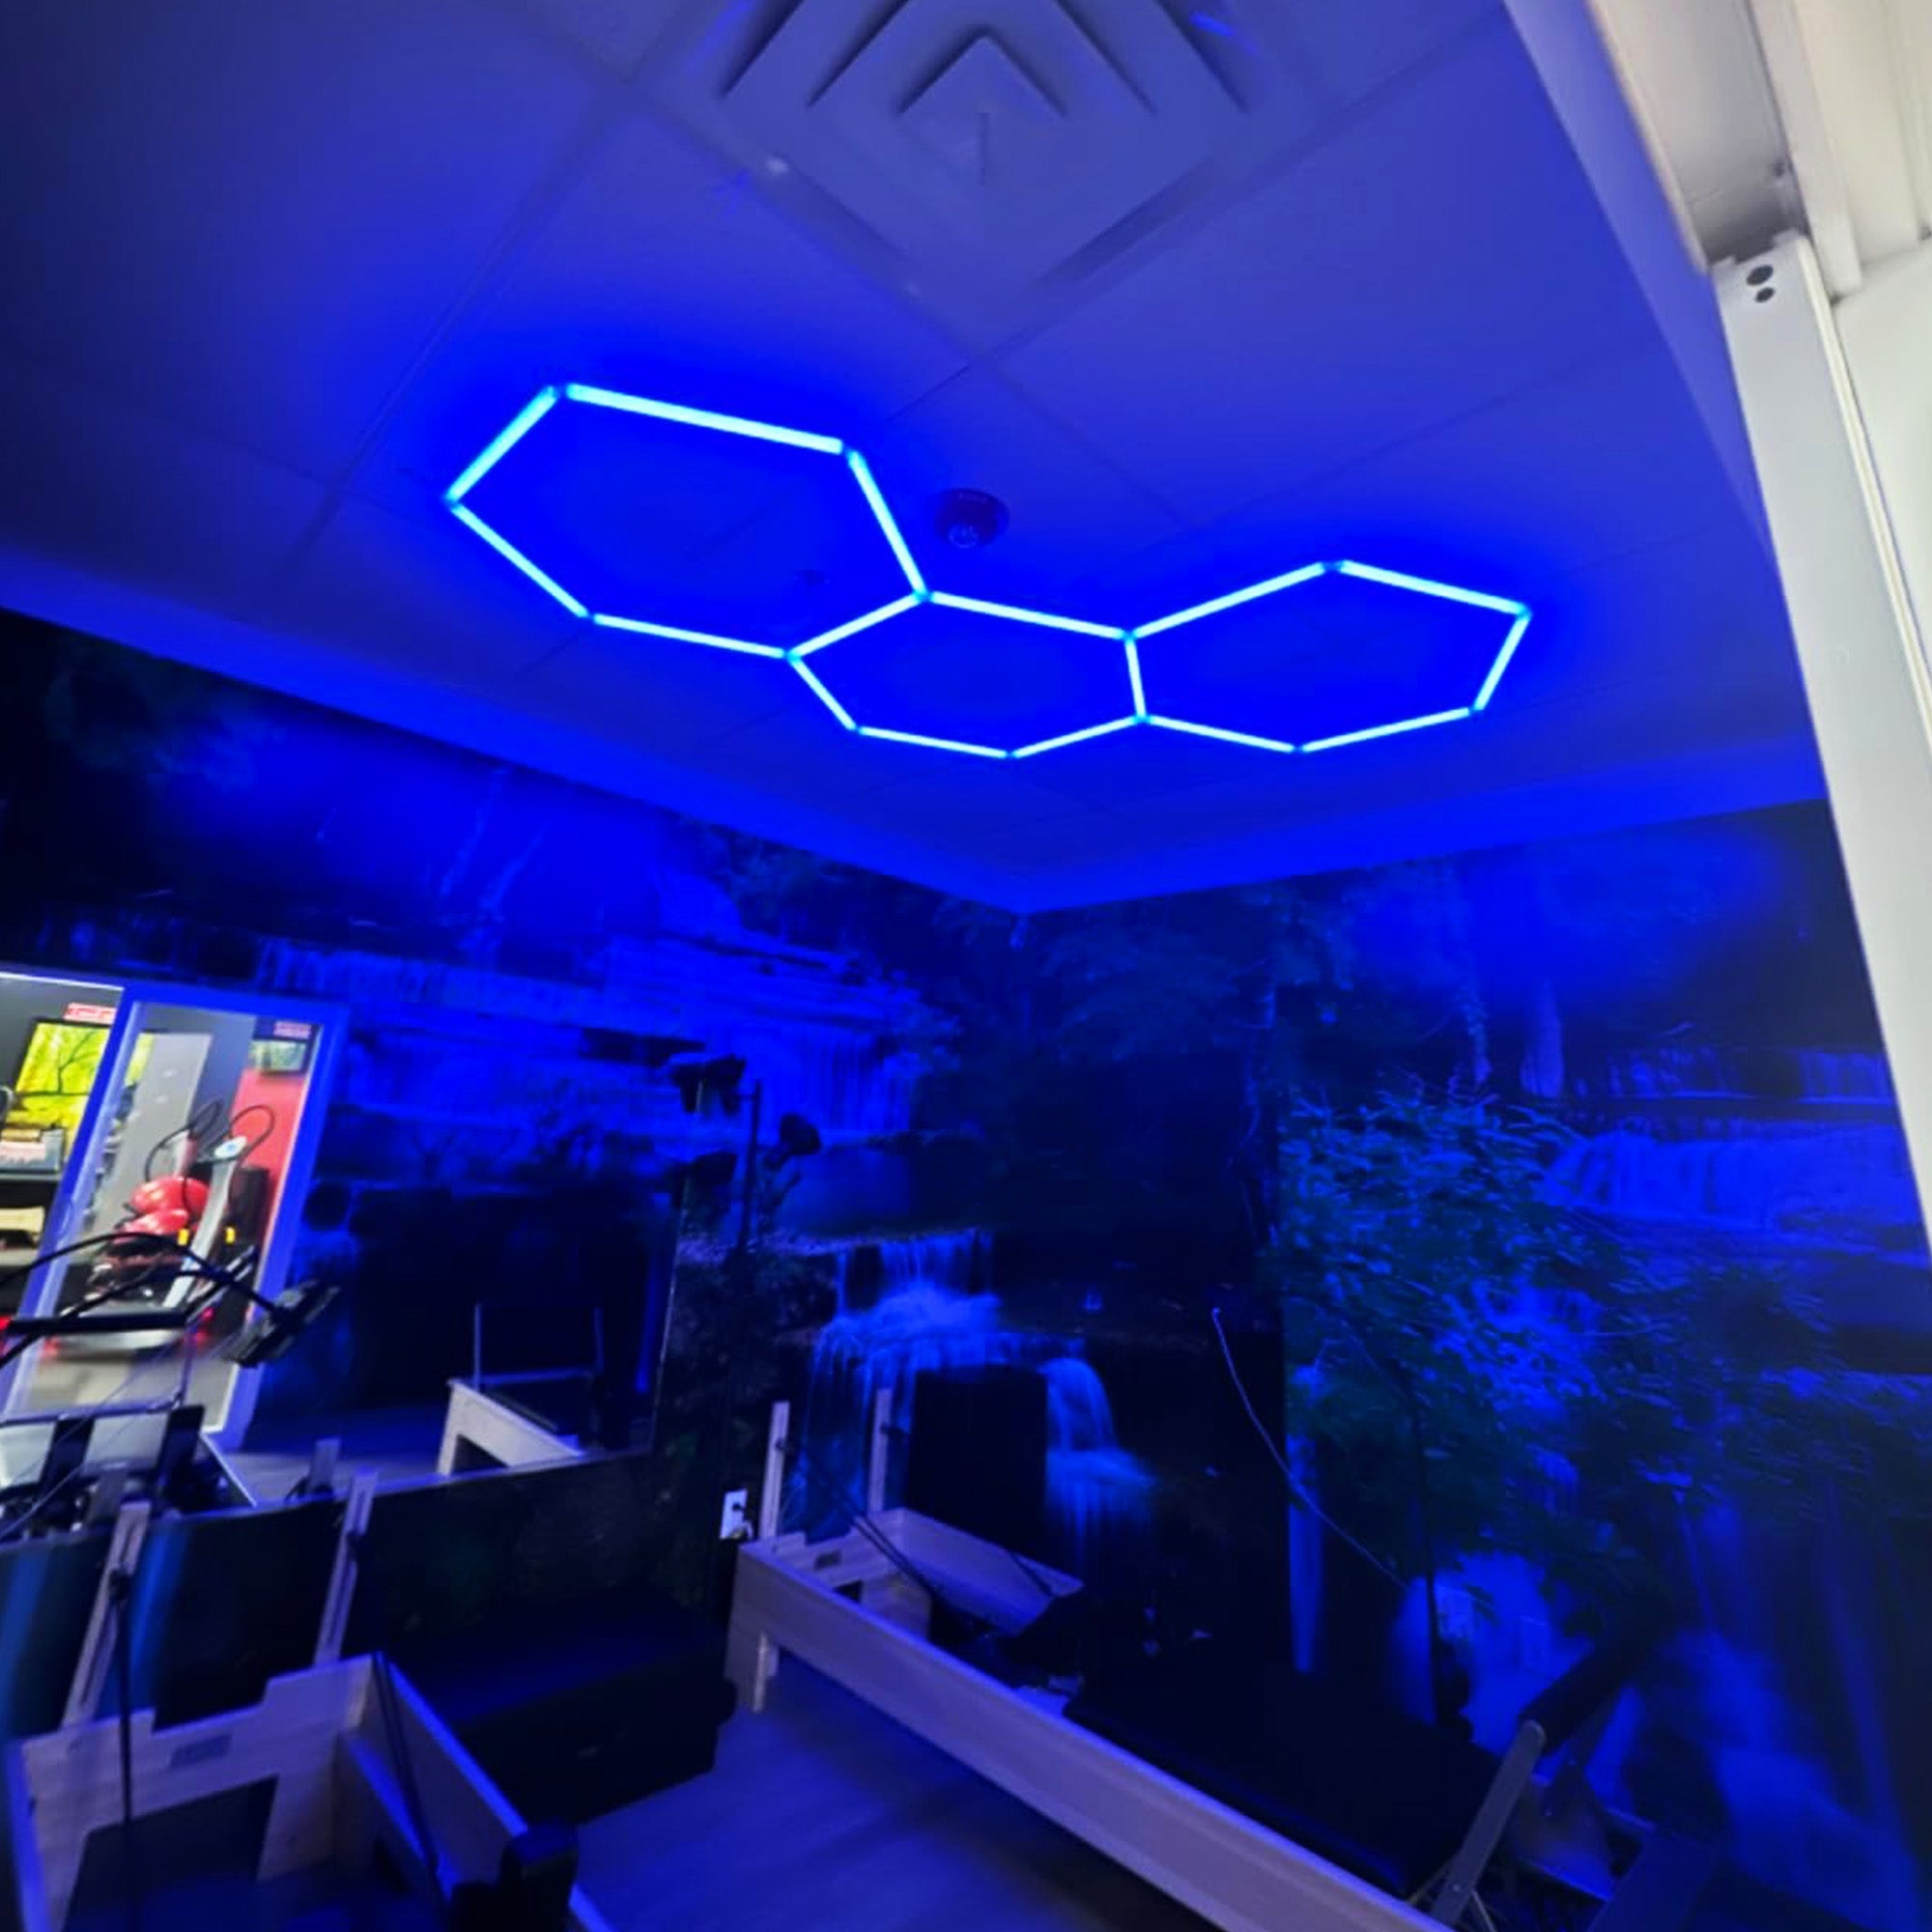
Extending a wall design onto the ceiling creates a highly immersive environment, but it introduces immediate technical challenges. Gravity is now working against your installation. You can no longer rely on basic double-sided tape to hold the panels indefinitely. The ambient heat near the ceiling also degrades standard adhesives over time, leading to inevitable failure.
When transitioning to RGB hexagon ceiling lights, specific hardware is required. You must use screw mounts or heavy-duty mechanical brackets to secure the panels to the drywall or studs. If you are mounting directly to drywall without hitting a stud, use zip toggles or high-weight drywall anchors. Never trust foam tape on a ceiling installation.
Additionally, consider how ceiling placement impacts room illumination. Ceiling panels act more like primary overhead lighting, which drastically changes the ambient feel of the room compared to standard wall accents. The light will cast downward shadows, which can affect how your desk or workspace looks. Plan your ceiling layout so the light falls exactly where you need it, avoiding direct glare on monitor screens.
Every lighting kit has a hard power limit. Standard power adapters can only push a specific amount of current through the controller. If the manufacturer states the power supply supports a maximum of twenty panels, adding a twenty-first panel will cause immediate issues. You will experience voltage drop-off, which manifests as dimming at the end of the chain.
Exceeding the max panel rule also leads to color inaccuracy. Pure white might render as a muddy yellow or pink on the furthest panels because the blue and green diodes are not receiving enough voltage to fire properly. Flickering is another common symptom of an overloaded power supply. The controller struggles to maintain a steady signal, causing the entire layout to strobe randomly.
When expanding your setup, you must calculate the total wattage required. Once you hit the limit, you must inject a second power supply into the layout to maintain consistent brightness and color. Most premium brands allow you to plug a second power adapter into an open port on the opposite end of the design, balancing the voltage across the entire run.
Follow these steps to calculate your power load:
Routing power cables on large walls is a major logistical challenge. A beautiful geometric design is instantly ruined by a thick black power cord dangling down the center of the drywall. Before sticking a single panel to the wall, you must plan where the power will originate and how it will reach the controller.
Plan your layouts so they naturally terminate near existing power outlets. If you can build the design so the lowest panel sits just above a desk or a baseboard outlet, you can hide the cable entirely. If the design must float in the middle of the wall, use paintable cable raceways. Cut the raceway to size, stick it to the wall, route the cable inside, and paint it to match the wall color.
For a truly seamless look on permanent installations, you can route the low-voltage cables in-wall. Use a drywall saw to cut a small hole behind the lowest panel and another hole near the baseboard outlet. Use fish tape to pull the low-voltage cable down through the wall cavity. Ensure the cable you are using is rated for in-wall use to comply with local building codes.
Panel detachment is a constant risk if you do not evaluate your wall surface. Standard adhesive pads perform differently depending on the texture and finish of the wall. Matte paint generally provides a good grip because the surface is slightly porous. Gloss or semi-gloss paint is slippery, increasing the risk of panels sliding down the wall over time.
Textured drywall, such as orange peel or knockdown finishes, reduces the contact area for the adhesive. If the tape only touches the high points of the texture, the bond strength drops by more than half. Concrete or brick walls offer almost zero adhesion for standard foam tape due to dust and extreme porosity. You must evaluate the total weight of your installation against the surface type.
For heavily textured walls, brick, or large, heavy panels, abandon tape entirely. Use screw-in mounting plates to ensure the installation remains secure. If you must use tape on a slightly textured wall, upgrade to heavy-duty VHB (Very High Bond) acrylic tape. Apply heavy pressure for at least sixty seconds per panel to force the adhesive into the texture of the wall.
| Wall Surface Type | Adhesion Quality | Recommended Mounting Method |
|---|---|---|
| Flat Matte Painted Drywall | Excellent | Standard double-sided foam tape. |
| Gloss / Semi-Gloss Paint | Fair | Command strips or VHB tape. |
| Light Texture (Orange Peel) | Poor | Heavy-duty VHB tape or small screws. |
| Heavy Texture / Brick / Concrete | None | Mechanical screw mounts and masonry anchors. |
The geometry of your layout drastically affects both the visual impact and the cost-efficiency of the project. High-density clusters, such as tightly packed honeycombs or solid floral shapes, create a concentrated block of intense color. They draw the eye to a specific focal point but require a high number of panels to cover a small physical area. This makes them expensive if you are trying to fill a large wall.
Sprawling, linear designs offer a different aesthetic. Branching, vine-like patterns stretch across the wall, creating movement and flow. This method is highly cost-effective for large walls. By linking panels end-to-end rather than stacking them, you maximize the footprint of a smaller number of panels. You can cover ten feet of wall space with just fifteen panels if you build a single, jagged line.
When choosing between the two, consider the room's existing furniture. High-density clusters look great floating above a small desk or a bed. Sprawling designs work better when they interact with the environment, such as wrapping around a corner, climbing up a staircase wall, or stretching horizontally above a long sofa.
Negative space is the empty wall area between or around your panels. It is just as important as the panels themselves. If you cover every inch of a wall, the design loses its shape and becomes a chaotic light source. Negative space provides contrast, allowing the vibrant colors of the panels to pop against the dark background of the wall.
Use negative space strategically to frame existing room elements. You can route a sprawling design around a wall-mounted television, leaving a six-inch gap of negative space between the screen and the lights. You can outline a gaming desk or follow the architectural slope of a vaulted ceiling. Letting the wall breathe ensures the lighting enhances the room rather than dominating it.
You can also create internal negative space. Instead of building a solid block of hexagons, build a large ring or a hollow triangle. The empty wall space inside the shape becomes part of the design. This technique makes the layout look larger and more complex without requiring you to purchase additional panels to fill the center.
A cohesive room design rarely relies on a single light source. You can blend your hexagon panels with other fixtures to create a multi-dimensional setup. Syncing your wall panels with PC monitor backlighting, under-desk LED strips, or freestanding RGB light bars creates an immersive, unified environment. The lighting should feel like a single system, not a collection of random parts.
When integrating multiple fixtures, ensure they can communicate. Using customizable RGB hexagon lights that support standard smart home protocols allows you to control the entire room from a single app. Look for compatibility with systems like Razer Chroma, Corsair iCUE, or standard smart home hubs. This prevents the jarring effect of having different lighting zones flashing out of sync.
If you are building a professional streaming background or a high-end home theater, consider controllers that support DMX or advanced software syncing. This allows the wall panels to react in real-time to the colors on your monitor or the beat of your music, tying the physical room directly to the digital content.
Never build your layout directly on the wall without planning it first. Tearing panels off to reposition them ruins the adhesive, damages your paint, and bends the delicate connector chips. Many smart lighting apps feature Augmented Reality (AR) tools. These allow you to project virtual panels onto your wall using your phone camera, giving you a highly accurate preview of the scale and shape.
If AR is not available, use the ultimate low-tech planning tool: painter's tape. Map out the exact length and width of your desired design on the physical wall. Step back and view the taped outline from your normal seating position. This validates the digital design in the physical space and ensures the proportions are correct before you commit to mounting.
Follow this physical validation process:
Budget lighting kits flood the market, but they come with severe trade-offs. Cheap panels suffer from poor color accuracy. When you set them to pure white, they often emit a harsh blue or muddy pink tint. They also lack proper diffusion layers, meaning you will see individual, glaring LED hotspots rather than a smooth, uniform glow. This ruins the premium aesthetic you are trying to achieve.
Larger walls expose the flaws of budget panels much more prominently than small setups. When you link thirty cheap panels together, the color inconsistency between batches becomes glaringly obvious. The first panel might look bright red, while the thirtieth panel looks faded orange due to internal voltage drops and cheap wiring.
App connectivity on budget models is also notoriously unreliable. You will deal with dropped Wi-Fi signals, unresponsive zones, and apps that crash frequently. Investing in quality hardware prevents these visual and technical failures. High-end panels offer seamless diffusion, accurate color rendering, and stable software that keeps your layout running smoothly.
Adhesive failure is the most common physical issue with wall-mounted lighting. To prevent panels from crashing onto your desk, you must follow a strict wall preparation protocol. Wipe the wall down with isopropyl alcohol to remove dust, grease, and hand oils. Let it dry completely. When applying the panels, press firmly against the wall for at least thirty seconds to allow the adhesive to bond.
Consider the long-term impact on your walls. Renters should prioritize temporary solutions like Command strips, which feature pull-tabs for damage-free removal. Standard foam tape will almost certainly tear the paper face off the drywall when you try to remove it, resulting in lost security deposits and extensive patching work.
Homeowners installing permanent fixtures should consider screw mounts. While screws leave small holes, patching drywall with a dab of spackle is often easier than repairing large patches of torn paper face caused by heavy-duty foam tape. If you must use tape, use a hairdryer to heat the adhesive before removal, then use dental floss to saw through the foam backing gently.
A: For a standard gaming desk setup, 5 to 10 panels are usually sufficient. This quantity allows you to create a tight, focused cluster directly above or beside your monitors without overwhelming the limited wall space or causing visual fatigue during long gaming sessions.
A: Yes, but standard double-sided tape will likely fail due to poor surface contact. For textured drywall, brick, or concrete, you must use heavy-duty mounting tape or mechanical screw mounts to ensure the panels do not detach and fall.
A: You have exceeded the maximum panel limit for your power supply. This causes a voltage drop at the end of the chain. To fix this, you need to inject a second power supply into the layout according to the manufacturer's expansion guidelines.
A: The easiest method is to use paintable cable raceways that stick to the wall and blend in with your paint. For a cleaner look, you can drop the low-voltage cable behind the drywall and route it to an outlet near the baseboard.
A: It depends on the lumen output of the specific model and the number of panels used. High-output panels in large clusters can illuminate a room, but most color changing hexagon lights are designed as ambient accent lighting rather than primary task lighting.
A: Yes, but you cannot rely on standard adhesive pads. Gravity and ambient heat will cause tape to fail. You must use screw-in mounting brackets to safely secure the panels to the ceiling drywall or studs.
A: If you used Command strips, pull the tab slowly parallel to the wall. If you used standard foam tape, apply gentle heat with a hairdryer to soften the adhesive, then use dental floss to carefully saw behind the panel and cut the tape.


