


Views: 0 Author: Site Editor Publish Time: 2026-09-04 Origin: Site


Poor workshop visibility creates an immediate operational bottleneck. Shadows, uneven glare, and eye strain directly impact work quality. This hits hard in precision trades like auto detailing, paint correction, and vinyl wrapping. Traditional linear fluorescent or basic LED tubes fail to provide omnidirectional light. They leave blind spots on lower vehicle panels. They also create a dull environment that fails to communicate professionalism to high-end clients.
Modular hexagrid working lighting fixes this structural problem. It delivers high-lumen technical performance while upgrading commercial aesthetics. Upgrading your shop ceiling transforms how you spot defects. It changes how customers perceive your brand. This guide covers technical evaluation, layout strategies, and installation realities. We provide the exact data needed to direct a confident purchasing decision.
Effective lighting in a commercial workshop requires even distribution, accurate color representation, minimal glare, and the complete elimination of blind spots. Single-point high bay fixtures or linear tubes cast light in straight lines. When a technician leans over a fender to polish a quarter panel, their body blocks overhead linear fixtures. This casts a shadow exactly where the buffer is spinning. You end up guessing if the compound has fully broken down.
The geometry of a hexagonal light design fundamentally changes how illumination interacts with three-dimensional objects. Intersecting angles cast light from multiple vectors simultaneously. As light hits a vehicle from six different directions per grid section, it wraps around mirrors, door handles, and body lines. If your shoulder blocks one light bar, five other bars are still illuminating that exact spot on the clear coat. This omnidirectional flood eliminates the severe shadows caused by single-point fixtures. Technicians can inspect lower rocker panels and complex bumper curves without constantly repositioning portable work lamps.
Accurate color rendering is non-negotiable for precision automotive work. A high Color Rendering Index (CRI greater than 90) is the defining characteristic of professional-grade car detailing lights. Standard garage lights often have a CRI of 70 or 80, which washes out subtle paint nuances. When polishing clear coats or blending metallic paint, low CRI lighting masks swirl marks, hides holograms, and distorts color matching. High CRI diodes reveal the true condition of the surface. This ensures that a vehicle looks flawless under natural sunlight, not just inside the shop.
Beyond technical illumination, a geometric ceiling grid acts as a massive physical upgrade to your shop's interior. High-end clientele evaluate the professionalism of a facility the moment they drive through the bay doors. A brilliantly lit, modern workspace elevates the perceived value of the services offered. The distinctive reflection of the honeycomb pattern on a freshly polished hood creates excellent visual proof of your work. This visual branding builds customer trust and serves as a passive marketing tool that generic fluorescent tubes simply cannot provide.
Selecting the right system requires looking past exaggerated marketing claims and focusing on the underlying electrical and material specifications. Total light output means very little if the light quality degrades the working environment or if the fixtures fail prematurely under industrial conditions.
Total light output is measured in lumens, but the light that actually reaches the work surface is measured in lux (or foot-candles). A fixture might produce 100,000 lumens at the ceiling, but if mounted 20 feet high without proper directional optics, the lux at the vehicle hood will be insufficient. General mechanic work requires around 50 to 75 foot-candles. Precision detailing, paint correction, and vinyl wrapping demand 75 to 100+ foot-candles of evenly distributed lux to ensure maximum visibility without blinding the technician.
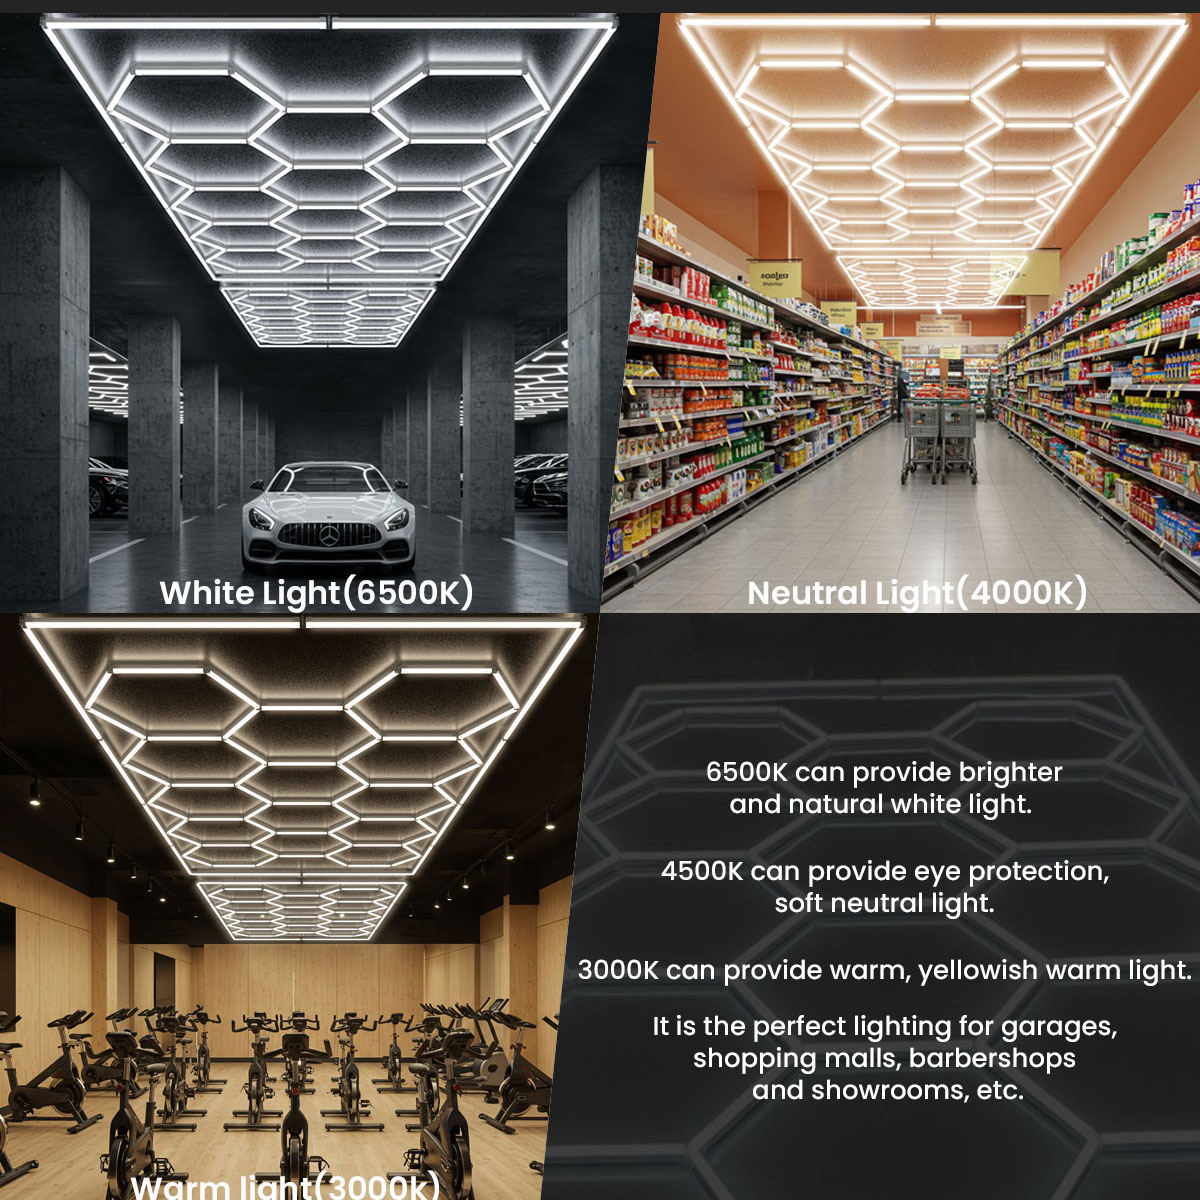
Color temperature dictates the visual comfort and accuracy of the workspace. The optimal range for automotive shops sits strictly between 5000K and 6500K. This daylight-balanced white light provides the highest contrast for spotting surface defects. Anything below 4000K introduces a yellow tint that masks paint imperfections. Pushing past 7000K introduces a harsh blue tint. Blue-heavy light causes severe macular fatigue during long shifts and distorts the true color of automotive finishes.
The cover over the LED diodes dictates how the light interacts with reflective surfaces. Clear polycarbonate covers maximize lumen output but create intense, pinpoint glare. When working on a polished clear coat, clear covers reflect individual diode dots onto the paint, causing severe eye strain. Frosted diffusers are mandatory for hexagonal LED lights used in detailing. A frosted acrylic or polycarbonate shell scatters the light evenly. This creates a smooth, continuous band of reflection that makes identifying dents and tension lines significantly easier.
Workshop environments experience extreme thermal cycles, airborne chemicals, and physical impacts. Cheap kits utilize brittle PVC housings that warp under the heat of their own diodes and yellow from UV exposure within a year. Professional systems utilize aviation-grade aluminum backings for superior thermal dissipation, paired with UV-resistant polycarbonate diffusers. Proper heat sinking directly dictates the lifespan of the LED chips. If the heat cannot escape the housing, the diodes will burn out prematurely.
Airborne dust, aggressive polishing compounds, and occasional moisture are constant threats in a shop environment. An IP54 rating offers basic protection against dust and splashing water, suitable for dry mechanic bays. Wash bays or heavy compounding areas benefit from IP65-rated fixtures, which are completely dust-tight and protected against low-pressure water jets. The IP rating determines whether internal components will survive the daily realities of the trade.
Installing non-certified electrical fixtures introduces severe legal and financial risks. Commercial properties require fixtures with recognized safety listings such as UL, ETL, or CE. Uncertified transformers lack proper thermal overload protection and represent a significant fire hazard. In the event of an electrical fire, insurance adjusters will inspect the lighting system. If unlisted fixtures are found wired into the building's mains, the commercial property insurance claim can be immediately voided.
| Feature | Budget Consumer Kits | Commercial-Grade Systems |
|---|---|---|
| Housing Material | PVC / Plastic (Prone to warping) | Aviation-grade Aluminum / Polycarbonate |
| CRI (Color Rendering) | < 80 (Washes out paint details) | 90+ (True color accuracy) |
| Diffuser Type | Clear (Causes harsh diode glare) | Frosted (Smooth, continuous reflection) |
| Safety Certification | None / Fake CE marks | UL / ETL / Genuine CE Listed |
| Thermal Management | Poor (Leads to early diode failure) | Integrated aluminum heat sinks |
A successful installation relies entirely on structural planning. Throwing random grids onto a ceiling without considering the specific workflow of the bay leads to wasted energy and persistent shadows. Layout strategies must be categorized based on spatial constraints and the primary tasks performed beneath them.
For dedicated detailing bays, a concentrated grid design centered directly over the vehicle footprint is optimal. Sizing the grid slightly larger than the average vehicle ensures that the outermost light bars sit just outside the vehicle's perimeter. A standard 8-foot by 16-foot or 10-foot by 20-foot grid works perfectly for most bays. This specific positioning forces the light to hit vertical panels, such as doors and fenders, at an angle. If the grid is too narrow, the roof of the car blocks the light from reaching the lower side skirts.
Applying Paint Protection Film (PPF) or vinyl wrap requires spotting microscopic dust nibs, tension lines, and squeegee trails before the adhesive sets. These bays require highly diffused honeycomb LED lights covering the entire ceiling footprint. The intersecting angles of the honeycomb pattern ensure that no matter which way the installer pulls the film, the reflection of the light source highlights the surface tension without blinding them.
Large open-plan mechanic shops require a different approach. Instead of isolated rectangles, a continuous wall-to-wall grid provides uniform lux levels across multiple lifts and workstations. When linking multiple grids, calculate the spacing carefully to avoid dark zones between bays. Continuous coverage ensures that technicians rolling tool carts or moving engines across the floor never transition through poorly lit areas. This maintains safety and visual consistency across the entire shop floor.
Advanced layouts extend the grid from the ceiling down the primary working wall. This structural transition provides immense technical benefits for paint correction. Ceiling light struggles to illuminate the lowest rocker panels and the undersides of bumpers. By continuing the grid down the wall to a height of three feet off the floor, technicians receive direct horizontal illumination. This eliminates the need for handheld swirl finders when polishing the lower third of a vehicle.
Ceiling height dictates the mounting strategy and required lumen output. Standard 10-foot to 12-foot ceilings are ideal for flush mounting. If the shop features 18-foot ceilings, flush mounting will result in massive lux loss by the time the light reaches the floor. In high-ceiling environments, the grid must be suspended using aircraft cables to bring the light source closer to the work surface. Map out the exact location of two-post or four-post lifts. Ensure the grid is positioned so the lift posts and crossbeams do not cast massive shadows directly onto the vehicle.
| Layout Type | Best Application | Key Benefit |
|---|---|---|
| Single-Bay Perimeter | Auto Detailing / Polishing | Forces light onto vertical door panels |
| Full Ceiling Continuous | General Mechanic / Fabrication | Eliminates dark zones between workstations |
| Wall-to-Ceiling Drop | High-End Paint Correction | Illuminates lower rocker panels horizontally |
| Suspended Grid | Warehouses / High Ceilings | Brings lux levels down to the working plane |
A well-designed layout accounts for future business growth. Design a starter grid that can be easily expanded as new bays are added. Plan power drops and utilize standardized connector types to accommodate future additions. A modular system allows you to snap in new sections without tearing down the initial installation or pulling entirely new conduit back to the breaker panel.
The physical and electrical challenges of installing large-scale lighting grids require strict attention to detail. Ignoring load capacities or using improper mounting hardware compromises both safety and performance. You cannot cut corners on the electrical tie-in.
Calculating the total wattage of a layout is the first step in electrical planning. Add the wattage of every individual tube in the planned grid. Divide that total wattage by your voltage (typically 120V or 240V) to determine the total amperage draw. Standard shop circuits are usually 15A or 20A. Overloading these circuits with massive lighting grids causes tripped breakers and overheated wiring. Large, multi-bay installations frequently require dedicated 20A circuits pulled directly from the main panel to handle the continuous load safely.
Modern modular systems utilize Y-connectors and straight pins to link tubes together, passing the current through the grid. Evaluate the reliability of these connections. High-vibration industrial settings can cause standard push-fit pins to vibrate loose over time, leading to dead zones in the grid. Premium systems feature locking connectors that secure the electrical bond. Do not daisy-chain too many tubes together on a single run. The copper pins inside the connectors have an amp limit. Pushing too much current through the first connector in the chain will melt the plastic housing. Always follow the manufacturer's maximum run length. While the grid itself is plug-and-play, the final connection to the building's power supply should always be hardwired into a junction box by a licensed electrician.
Mounting strategy depends on the ceiling substrate and existing infrastructure. Flush mounting directly to drywall or wood trusses provides a clean, integrated look but is highly permanent. It requires precise leveling and hundreds of anchoring points. Suspension mounting using adjustable aircraft cables and unistrut is faster and allows for precise height adjustments. Suspension is mandatory in commercial spaces where the ceiling is cluttered with HVAC ductwork, exposed conduit, and fire sprinkler systems. This allows the grid to float cleanly below the obstructions.
Assess the modularity of the system before purchase. In a busy shop, an errant tool or a lifted vehicle might crack a tube. If one tube fails or is damaged, the system must allow for hot-swapping. High-quality grids allow you to unclip and replace a single section without dismantling the surrounding structure or dropping the entire grid from the ceiling. Accessible maintenance ensures zero downtime for the bay.
Budget allocation for workshop lighting must focus on operational efficiency, longevity, and material quality. The cheapest initial purchase often results in the highest long-term frustration. You get exactly what you pay for when it comes to commercial lighting fixtures.
Commercial hexagrid systems represent a higher initial capital expenditure compared to hanging basic shop lights. The energy efficiency of modern LED diodes provides a rapid return on investment. Replacing legacy 400W metal halide high-bays or inefficient fluorescent banks with a low-draw LED grid drastically reduces kilowatt-hour (kWh) consumption. The reduction in monthly utility bills offsets the initial purchase price, especially in shops running lights 10 to 12 hours a day.
The market is flooded with ultra-cheap e-commerce kits that look identical in photos but perform terribly in reality. Hidden costs plague these budget options. They suffer from frequent diode burnouts, poor thermal management, and uncertified transformers that pose fire hazards. Premium commercial systems utilize thicker aluminum housings, superior LED drivers, and verified safety certifications. Investing in commercial-grade fixtures guarantees consistent light output and structural safety over years of heavy use.
Lighting systems in industrial environments occasionally require replacement parts. Purchasing from specialized domestic vendors ensures access to immediate customer support and inventory. Buying unbranded kits from overseas sellers carries severe risks. When a proprietary transformer fails or a specific connector cracks, lack of warranty support or replacement parts renders the entire grid useless. You will be forced to replace the entire system just to fix one broken section.
LED tubes and acrylic connectors are fragile. The hidden cost of cheap kits often reveals itself during shipping. Flimsy packaging results in cracked diffusers and bent aluminum housings arriving at your door. This delays shop build-outs for weeks while you fight for replacements. Reputable vendors utilize robust, reinforced packaging designed specifically for long freight transport, ensuring the system arrives ready for immediate installation.
A: Lumen requirements depend on your square footage and ceiling height. Instead of total lumens, aim for 75 to 100 foot-candles (lux) at the work surface for precision tasks like detailing. General mechanic work requires 50 to 75 foot-candles. A standard 8ft by 16ft grid producing 60,000 lumens mounted at 10 feet typically achieves this target.
A: The physical assembly is straightforward due to modular plug-and-play connectors that link the tubes together. However, mounting a large grid evenly requires patience, laser levels, and multiple hands. While assembling the grid is manageable for shop staff, the final electrical tie-in to the building’s mains must be performed by a licensed professional.
A: The optimal range sits strictly between 5000K and 6500K. This provides a daylight-balanced, pure white light that maximizes contrast for spotting swirl marks and paint defects. Avoid temperatures above 7000K. The blue tint distorts paint colors and causes severe eye fatigue during long shifts.
A: It depends entirely on the specific LED driver and transformer included with the system. Most standard kits are non-dimmable. If dimming is required for your workflow, you must specify this during purchase to ensure the vendor supplies compatible commercial-grade dimmable drivers.
A: High-quality commercial LED diodes are rated for 40,000 to 50,000 hours of continuous use. This lifespan relies heavily on proper thermal management using aluminum housings. It also requires appropriate IP ratings to keep corrosive dust and moisture away from the internal circuitry.
A: Often, yes. Calculate the load by dividing the total grid wattage by your voltage. For example, a 2000W system on a 120V circuit draws 16.6 amps. Since continuous loads should not exceed 80 percent of a breaker's capacity, this draw requires a dedicated 20A circuit to prevent tripped breakers.
A: Yes, it presents a massive risk. Commercial property insurance policies require all electrical fixtures to meet local fire and safety codes. Installing fixtures without recognized safety certifications like UL or ETL can void your coverage if those components cause an electrical fire.


