


Views: 0 Author: Site Editor Publish Time: 2026-09-24 Origin: Site


The traditional photo studio relies on seamless paper and color gels to create distinct backgrounds, requiring significant physical storage, setup time, and recurring material costs. Photographers and videographers need dynamic, easily modifiable backgrounds to keep up with demanding production schedules. However, introducing practical LEDs directly into a camera frame often introduces technical issues like light spill, exposure imbalance, and sensor flicker. We evaluate whether RGB hexagon wall lights offer a viable, professional-grade alternative to static backdrops. This breakdown examines the technical specifications required for on-camera use and the implementation realities of balancing practical background lighting with subject illumination. You will learn how to manage the inverse square law, prevent color contamination on skin tones, and rig these modular panels safely in a commercial space.
Physical backdrops present inherent operational limitations on set. Paper rolls tear, wrinkle, and accumulate dirt rapidly during full-body portrait sessions. Storing multiple nine-foot rolls consumes valuable square footage in smaller studios. Static colors limit creative agility. If a client requests a background color change halfway through a shoot, the production must pause to physically swap heavy paper rolls or adjust strobe gels. Modular lighting introduces operational agility, allowing instant environmental changes through digital control.
For a practical background light to succeed on camera, it must meet specific optical criteria. The panels require uniform light diffusion. If individual LED diodes are visible through the plastic casing, they create distracting hot spots that draw the viewer's eye away from the subject. A successful panel acts as both a visual element within the frame and a color wash that provides out-of-frame ambient light. This dual functionality allows creators to use the lights as geometric art pieces or as soft, glowing background elements depending on the depth of field.
Set design is actively shifting away from flat, solid-color backgrounds. Modern video production favors textured, geometric, and depth-enhancing environments. Flat paper backgrounds often look clinical or sterile on video. Introducing illuminated geometric shapes breaks up the negative space behind a subject, providing visual interest and establishing a specific mood or brand identity through color.
The modular nature of RGB hexagon lights allows creators to adapt their sets continuously. Unlike a permanent neon sign or a painted wall, these panels can be rearranged. As a studio evolves, the lighting configuration can change from a dense honeycomb cluster to a sprawling, linear design. This prevents the set from feeling stagnant over multiple video episodes or photo campaigns.
Interactive backdrops have also become standard for streaming and gaming setups. Wrapping these lights around monitors or integrating them with PC software creates dynamic environments. The panels can react to audio frequencies, syncing with music or gameplay. This reactivity pulls viewers deeper into the content, transforming a static room into an immersive, responsive set.
The most common failure point when using consumer-grade LEDs on camera is the banding problem. Cheap LEDs do not emit a continuous stream of light; they pulse rapidly to simulate brightness levels. When this pulsing mismatches with a camera's shutter speed or frame rate, it causes rolling black bands across video footage or inconsistent dark exposures in still photography. This artifact ruins otherwise perfect shots and is nearly impossible to fix in post-production.
To ensure camera compatibility, buyers must look for panels utilizing high-frequency Pulse Width Modulation (PWM) dimming. For professional video work, the refresh rate threshold should exceed 1000Hz, though rates above 2000Hz are preferred for high-speed or slow-motion recording. Color changing hexagon lights built with high refresh rates allow photographers to shoot at various shutter speeds without worrying about synchronization issues.
| LED PWM Refresh Rate | Safe Video Frame Rates | Maximum Safe Shutter Speed (Stills) | On-Camera Result |
|---|---|---|---|
| Below 500Hz | 24fps / 30fps only | 1/100s | Severe banding at higher speeds. |
| 1000Hz - 2000Hz | Up to 60fps | 1/250s - 1/500s | Clean video, safe for standard sync speeds. |
| Above 3000Hz | 120fps+ (Slow Motion) | 1/1000s+ | Completely flicker-free under all conditions. |
Evaluating lumen output requires understanding the difference between absolute brightness and perceived brightness on camera. A background panel must generate enough output to register clearly when competing with high-wattage continuous key lights or studio strobes. If the background is too dim, it will render as muddy gray or black once the camera is exposed for the brightly lit subject.
Low-end dimming capability is equally critical. Many entry-level LEDs drop off sharply below 10% brightness or shift in color temperature. Smooth dimming curves at the 1% to 10% range are necessary to prevent the background from blowing out and losing its color saturation. If a colored light is too bright, the camera sensor records it as pure white, completely defeating the purpose of an RGB backdrop.
While background lights generally do not illuminate skin tones directly, diode quality still dictates the final image quality. Poor color rendering results in muddy, inaccurate hues on camera sensors. Magentas may render as harsh reds, and cyans may shift toward deep blue. High-quality diodes ensure that the color selected on the control app translates accurately through the camera lens.
Buyers must also evaluate the difference between standard RGB and RGBIC technology. Standard RGB panels display one solid color across the entire panel at a time. RGBIC panels feature independent pixel control, allowing multiple colors to exist simultaneously on a single panel. This capability enables smooth color gradients, moving animations, and complex lighting chases, offering significantly more creative flexibility for video backgrounds.
Using practical lights as a backdrop requires a strict understanding of the Inverse Square Law. This physics principle states that light intensity drops exponentially as distance increases. To maintain independent exposure zones, you must calculate the physical distance between the subject, the key light, and the background. If the subject stands too close to the background panels, the key light will spill onto the LEDs, washing out their color. Moving the subject further away allows you to expose the subject independently from the background.
Depth of field plays a major role in how these geometric shapes render on camera. Utilizing a narrow aperture renders the hexagon shapes sharply, utilizing them as a distinct geometric feature. Opening the aperture throws the background out of focus, transforming the sharp panels into a soft, blurred, colorful bokeh. This technique is highly effective for portraiture, providing texture without distracting from the subject's face.
A common risk when using bright background LEDs is color contamination. If customizable RGB hexagon lights are set too bright, they will spill colored light onto the back of the subject's head, shoulders, or neck. This unwanted rim light ruins natural skin tones and makes color grading difficult.
Mitigation strategies involve strict light control. Use flags or V-flats to block background light from wrapping around the subject. Apply grids to your primary key light to keep white light strictly on the subject and off the background wall. Introducing negative fill absorbs stray light and deepens shadows, ensuring clean separation between the colorful background and the natural skin tones.
A frequent challenge is making the RGB background stand out vibrantly without underexposing the subject's face. If you expose for a bright face, the background often goes dark. If you expose for the background, the face becomes a silhouette.
The solution requires a specific exposure sequencing framework:
The base color of your studio wall heavily impacts this process. Mounting panels on a pure white wall causes the ambient RGB light to bounce aggressively, often washing out the saturation and bouncing colored light back onto the subject. Dark grey or matte black walls absorb excess spill. Darker walls yield richer, high-end colorful looks because the illuminated panels contrast sharply against the dark negative space.
Standard double-sided adhesive tape is often insufficient for professional studio environments. Adhesives fail due to temperature fluctuations from studio equipment, causing panels to drop and shatter mid-shoot. Strong adhesives frequently tear the drywall paper when removed, leading to costly studio repairs.
Alternative rigging offers better reliability and flexibility. Many studios mount the panels onto custom wooden backing boards painted to match the studio walls. Another approach involves clear acrylic mounts. By attaching the panels to a large sheet of plexiglass, the entire array can be clamped to heavy-duty C-stands. This freestanding rig allows the backdrop to be moved anywhere in the studio, adapting instantly to different camera angles and set designs.
| Mounting Method | Pros | Cons |
|---|---|---|
| Direct Adhesive to Drywall | Fastest initial setup. | High risk of falling; damages paint upon removal. |
| Painted Plywood Backing | Highly secure; hides wiring easily. | Heavy; requires mechanical fastening to wall studs. |
| Acrylic Sheet on C-Stands | 100% mobile; no wall damage. | Requires grip equipment; acrylic can cause reflections. |
Building a massive wall of light requires careful electrical planning. Connecting too many panels to a single power supply causes a phenomenon known as voltage drop. The panels closest to the power source will display bright, accurate colors, while the panels at the end of the chain will appear dim and shift toward yellow or red as the voltage degrades.
To prevent this, large arrays require power injection. You must run multiple power supplies to different sections of the design. Cable management is equally critical for maintaining a professional frame. Power cables and controller boxes must be routed behind the panels or concealed along baseboards to keep the camera frame clean and free of distracting wires.
Fast-paced photoshoots require reliable control ecosystems. Fumbling with a disconnected Bluetooth app while a client waits breaks the flow of a session. Evaluate the stability of the manufacturer's Wi-Fi or Bluetooth application. The app should allow for instant color changes, custom scene saving, and group control.
For advanced commercial studios, standard phone apps may not suffice. Assess whether the panels support DMX control or PC-sync software. DMX compatibility allows the background panels to be wired into the studio's main lighting console, enabling automated lighting cues that sync perfectly with strobes, video transitions, or musical beats during music video production.
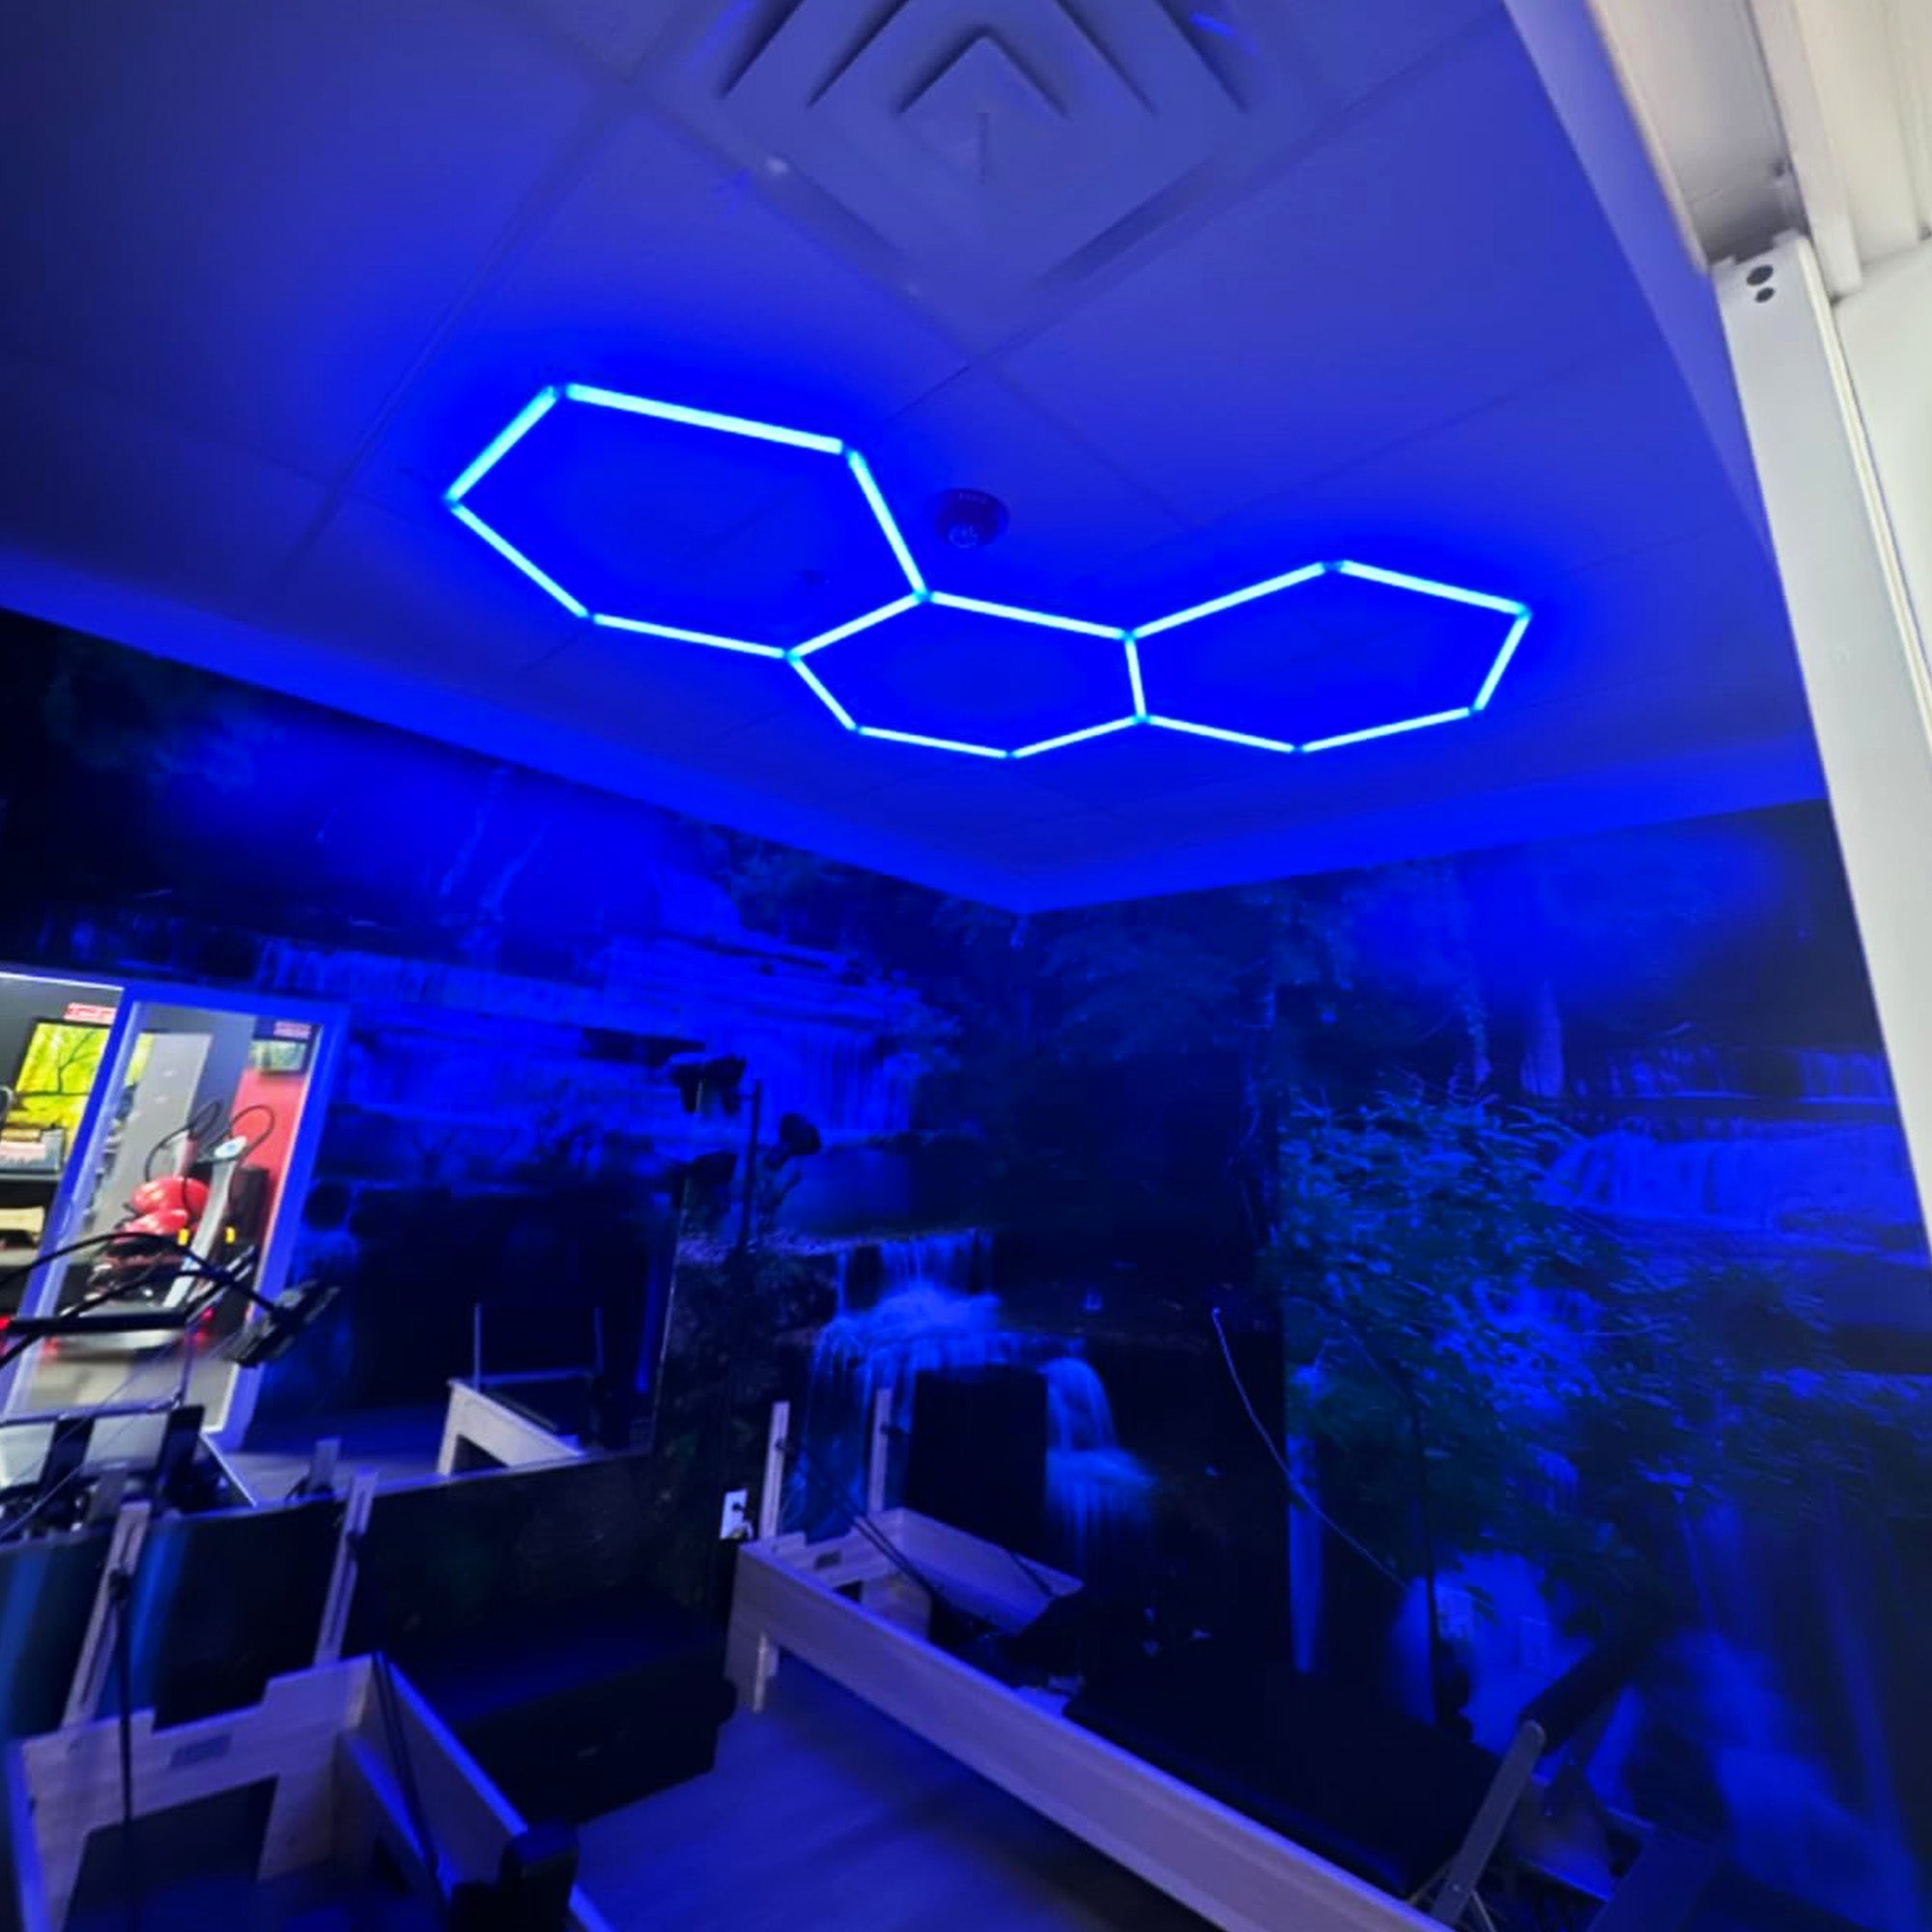
Set design does not have to stop at the back wall. Utilizing RGB hexagon ceiling lights allows creators to build immersive, 360-degree colored environments. Top-down color washes create dramatic rim lighting on the subject's hair and shoulders, which is highly effective for music videos, futuristic portraiture, and stylized commercial shoots.
Mounting modular lighting systems overhead in a commercial space requires strict adherence to structural safety protocols. Adhesive tape is entirely unacceptable for ceiling mounts. Overhead panels must be mechanically fastened using screws and anchors driven directly into ceiling joists. Safety tethers or aircraft cables should be utilized to catch the rig in the event of a primary hardware failure, protecting the talent and expensive camera equipment below.
When evaluating studio upgrades, you must compare the operational trade-offs between modern LED panels and traditional modifiers. Seamless paper and gels require constant physical manipulation. Every color change means lowering a C-stand, taping a new gel over the strobe reflector, and raising it back up. This physical workflow eats into shooting time.
| Feature | Traditional Studio Gels & Paper | RGB Hexagon Wall Lights |
|---|---|---|
| Upfront Cost | Low (Paper rolls and gel sheets are inexpensive). | High (Requires initial investment in panels and power). |
| Recurring Cost | High (Paper gets dirty/torn; gels melt or fade). | Zero (LEDs have a lifespan of 50,000+ hours). |
| Setup Speed | Slow (Requires physical swapping and clamping). | Instant (Colors and patterns changed via app). |
| Visual In-Frame Use | None (Gels modify light out of frame). | High (Panels act as physical geometric props). |
| Light Output | Massive (Powered by 1000W+ studio strobes). | Moderate (Designed for ambient glow and practical use). |
While gels placed over a powerful studio strobe offer massive light output and pure color saturation for lighting a whole room, hexagon lights provide distinct in-frame visual interest. The versatility of instant customization often outweighs the purity of traditional strobe gels for creators who produce high volumes of varied content.
A: They can, depending on the quality of the LEDs. Cheap panels use low-frequency PWM dimming, which clashes with camera shutter speeds and causes banding. To avoid this, purchase panels with high refresh rates above 1000Hz designed specifically for video and photography.
A: Hexagon lights are continuous practical lights, meaning they are much weaker than the burst of a studio strobe. To use them together, you must drag your shutter to expose the continuous background light while using the strobe to freeze the subject.
A: Increase the physical distance between your subject and the background panels. Use flags or V-flats to block ambient light from wrapping around the subject, and ensure your background brightness is dialed down to an appropriate ambient level.
A: Yes. Instead of applying adhesive directly to drywall, mount the panels onto a sheet of clear acrylic or painted plywood. You can then clamp this rigid board to heavy-duty C-stands, creating a mobile backdrop that will not damage your studio architecture.
A: This happens when the LEDs are overexposed. Digital camera sensors record overexposed colored light as pure white. To fix this, lower the brightness of the panels via their control app, or close your camera's aperture to reduce the overall light hitting the sensor.
A: No. For standard portrait photography or simple video backgrounds, a reliable Bluetooth or Wi-Fi app is perfectly sufficient. DMX control is only necessary for large commercial studios that need to synchronize background lighting cues with automated video rigs or music tracks.


