

Views: 0 Author: Site Editor Publish Time: 2026-06-29 Origin: Site


Scroll through social media or automotive detailing platforms today, and you will inevitably encounter mesmerizing grid-style ceiling illumination. This viral trend has taken the automotive world by storm, dominating custom setups everywhere. But are these systems just an aesthetic trend designed for viral photos, or do they actually deliver superior functional illumination for rigorous detailing, mechanical repairs, and daily chores? Many enthusiasts wonder if this popular upgrade provides real value beyond a striking visual appeal.
This article provides a purely objective, spec-based evaluation of these modern ceiling grids. We separate high-end solutions from cheap imitators to help you make an informed investment. You will learn exactly how geometric light distribution alters visibility, what technical specifications actually matter, and the hidden installation realities nobody mentions on forums. By the end, you will know precisely if this lighting style suits your specific workspace needs.
Shadow Reduction: The geometric grid design natively reduces casting shadows, making them highly effective for automotive detailing and mechanical work.
Installation Reality: True cost includes installation; modularity is a benefit, but complex wiring and ceiling-mounting logistics require planning.
Quality Variance: Not all garage hexagon lighting is equal. Decision-making must prioritize UL/ETL certifications, CRI (Color Rendering Index), and connector quality over raw price.
The Verdict: Excellent for dedicated workspaces and high-end aesthetics, but potentially overkill for basic storage garages.
Traditional garage illumination usually relies on single overhead bulbs or standard linear tubes. These older methods create a distinct set of visibility problems. A single point of light casts harsh, directional glare. It creates deep shadows whenever an object blocks the beam. You constantly fight these shadows when performing precision tasks. Poor visibility forces you to use handheld flashlights or portable work lamps just to see basic details.
By installing a Hexagonal Light system, you distribute light sources across a wider horizontal plane. Instead of projecting a single intense beam downward, the grid emits overlapping beams from multiple angles simultaneously. This geometric distribution effectively washes out shadows before they form. The modular shape envelops the workspace in a consistent, diffused glow.
These systems deliver three specific outcome-based benefits:
Automotive Detailing: Multi-directional light easily exposes subtle paint defects, microscopic swirl marks, and uneven ceramic coating leveling. You can see imperfections clearly from any viewing angle.
Mechanical Work: The wide grid eliminates the frustrating "head-shadow" effect. When you lean over an engine bay, light reaches the engine components from the sides rather than being blocked by your shoulders.
Spatial Perception: Bright, heavily diffused light alters visual depth. It makes low-ceiling environments feel significantly larger, cleaner, and more welcoming.
Best Practice: Always position the primary grid directly above the main work zone rather than centering it in the room. This ensures optimal multi-directional overlap where you need it most.
Aesthetics draw buyers in, but raw technical performance dictates whether a lighting system actually works. You must look beyond simple marketing claims to understand how these fixtures change a room's visibility. Total output, color temperature, and rendering accuracy dictate the true quality of your illumination.
Many buyers incorrectly assume total lumen count is the only metric that matters. Total lumens mean very little if the fixture distributes the light poorly. A centralized 60,000-lumen fixture causes intense eye strain and blinding glare. In contrast, a 60,000-lumen grid spreads that exact same output across fifty or more separate tubes. The resulting diffusion feels exceptionally bright but remains comfortable for your eyes. You gain maximum visibility without the harsh glare of an industrial floodlight.
Color temperature also plays a critical role. The industry standard for these systems is typically 6000K to 6500K. This temperature mimics natural daylight. Daylight spectrums are strictly necessary for accurate paint correction, finishing work, and detailing. However, you should note this daylight temperature can feel somewhat "clinical" or sterile if you primarily use your space for casual lounging or simple storage.
Finally, you must evaluate the Color Rendering Index (CRI). CRI measures how accurately a light source reveals the true colors of an object compared to natural sunlight. A CRI rating above 85 is an absolute non-negotiable metric for any high-end detailing setup. Low CRI lights make reds look muddy and blues look dull, which ruins professional paint matching efforts.
Specification | Standard Garage Light | High-Quality Hex Grid | Functional Impact |
|---|---|---|---|
Light Distribution | Directional (Point Source) | Multi-directional (Diffused) | Eliminates sharp shadows and glare. |
Color Temperature | 3000K - 4000K (Warm/Neutral) | 6000K - 6500K (Daylight) | Maximizes contrast for detailing. |
CRI Rating | Typically < 75 | > 85 (Often 90+) | Ensures accurate color representation. |
Marketing photos rarely show the physical effort required to mount a complex grid to a ceiling. If you browse user-generated content on platforms like Reddit, you will quickly discover a common set of pain points. Buyers often underestimate the physical logistics of assembling and powering these fixtures.
Assembly fatigue is a very real challenge. A standard setup requires pushing together dozens of straight tubes into fragile plastic Y-connectors. The process demands patience and a delicate touch. Forcing a connection at an awkward angle easily snaps the internal copper pins. Once you bend a pin, that entire section of the grid will fail to light up.
Mounting presents another significant hurdle. Your ceiling type dictates your installation method. Flush-mounting the grid directly to finished drywall requires precise anchoring. You must carefully map out your stud locations and use appropriate drywall toggles for the unsupported sections. Conversely, suspending the grid from open joists requires planning. You will likely need to build a secondary frame or rely heavily on heavy-duty zip-ties to keep the geometric shape perfectly rigid.
You must also manage the electrical load carefully. Large grid configurations pull significant power. You cannot simply daisy-chain endless units onto a single 15-amp household breaker. Overloading a circuit causes dangerous voltage drops. This drop manifests as noticeable dimming at the far edges of your grid. Large setups inherently require a dedicated circuit to function safely and brightly.
Common Mistake: Assembling the entire grid on the floor and attempting to lift it to the ceiling as one solid piece. The sheer weight and flex will snap the connectors. Always assemble and mount the system in smaller, manageable sections.
Shoppers frequently weigh the value of these geometric systems against standard linkable fixtures. Traditional linear tubes provide basic illumination for a much lower initial investment. However, evaluating these options requires looking past the initial purchase and understanding how they alter your daily workflow.
Traditional shop lights push light directly downward. They work perfectly for general storage illumination or basic walkways. However, they lack the sophisticated coverage needed for intensive projects. A multi-directional grid represents a premium initial investment, but it replaces the need for supplementary tripod lights, under-hood bars, and handheld detailing torches.
Modularity and scalability stand out as major advantages for the geometric design. You can customize a grid to frame very specific zones. You might build a dense cluster directly over a car lift while leaving the storage perimeter lightly illuminated. Linear tubes remain strictly linear. They offer very little geometric flexibility for complex room layouts.
Comparison Chart: Fixture Types | ||
Feature Category | Traditional Linkable Tubes | Modular Geometric Grids |
|---|---|---|
Coverage Pattern | Strictly linear and directional. | 360-degree horizontal diffusion. |
Scalability | End-to-end daisy chaining only. | Custom shapes, borders, and clusters. |
Visual Impact | Basic utility appearance. | High-end, modern aesthetic. |
Maintenance Complexity | Easy to swap entire independent fixtures. | Requires dismantling grid sections for repair. |
Maintenance realities present a distinct difference between the two styles. If a standard shop light fails, you unclip it and plug in a new one. Geometric systems rely on proprietary connectors and integrated circuits. If a single tube burns out in the middle of a cheap kit, replacing it requires dismantling an entire section of your ceiling grid. This makes connector durability a crucial factor when shopping.
Because the market is flooded with identical-looking products, you must use strict evaluation dimensions to discard low-quality options. Visually, a premium kit and a cheap knock-off look similar in photos. The differences hide in the materials, the transformers, and the safety ratings.
Follow this specific checklist when evaluating garage hexagon lighting for your space:
Verify Safety Certifications: Look specifically for UL, ETL, or CE certifications. Cheap, unbranded kits often use non-certified transformers. These subpar components overheat easily and pose a severe fire risk when left running for hours during a detailing session.
Inspect Material Quality: Demand high-grade polycarbonate or aluminum frames. Many budget kits use brittle PVC plastic. PVC warps under the heat of the LEDs and snaps easily during installation. Aluminum backing acts as a heatsink, prolonging the life of the diodes.
Determine Power Delivery Method: Clarify the difference between plug-and-play kits and hardwired systems. Plug-and-play models terminate in a standard three-prong cord, allowing you to use existing ceiling outlets. Hardwired setups require an electrician to safely splice the transformer into your home's main wiring.
Check Connection Durability: The Y-connectors and straight pins carry the electrical current between tubes. Look for kits advertising reinforced copper pins. Flimsy aluminum pins bend out of shape during assembly and cause flickering.
Demand Warranty Integrity: Prioritize a minimum two-year warranty from a reputable, recognizable brand. Unknown third-party sellers frequently disappear from online marketplaces, leaving you stranded when proprietary parts fail a year later.
Best Practice: Always map out your ceiling dimensions on paper before ordering. Factor in garage door tracks, overhead storage racks, and ceiling fans. These obstacles dictate the maximum size of the grid you can safely install.
Geometric ceiling grids deliver far more than a simple aesthetic upgrade for social media photos. They fundamentally solve the visibility problems caused by traditional directional fixtures. By eliminating harsh shadows and diffusing light evenly across a workspace, they provide unmatched utility for rigorous detailing and mechanical repair.
However, you must approach this upgrade with proper planning. The installation requires careful electrical management, precise mounting strategies, and physical patience. You cannot compromise on component quality or safety certifications if you want a system that lasts safely for years.
To move forward, measure your ceiling footprint accurately. Check your available power outlets to ensure they can handle the required load without dimming. Finally, shortlist only those kits that offer verified CRI ratings above 85, robust material construction, and clear warranty support. With the right preparation, this lighting style will dramatically transform how you utilize your workspace.
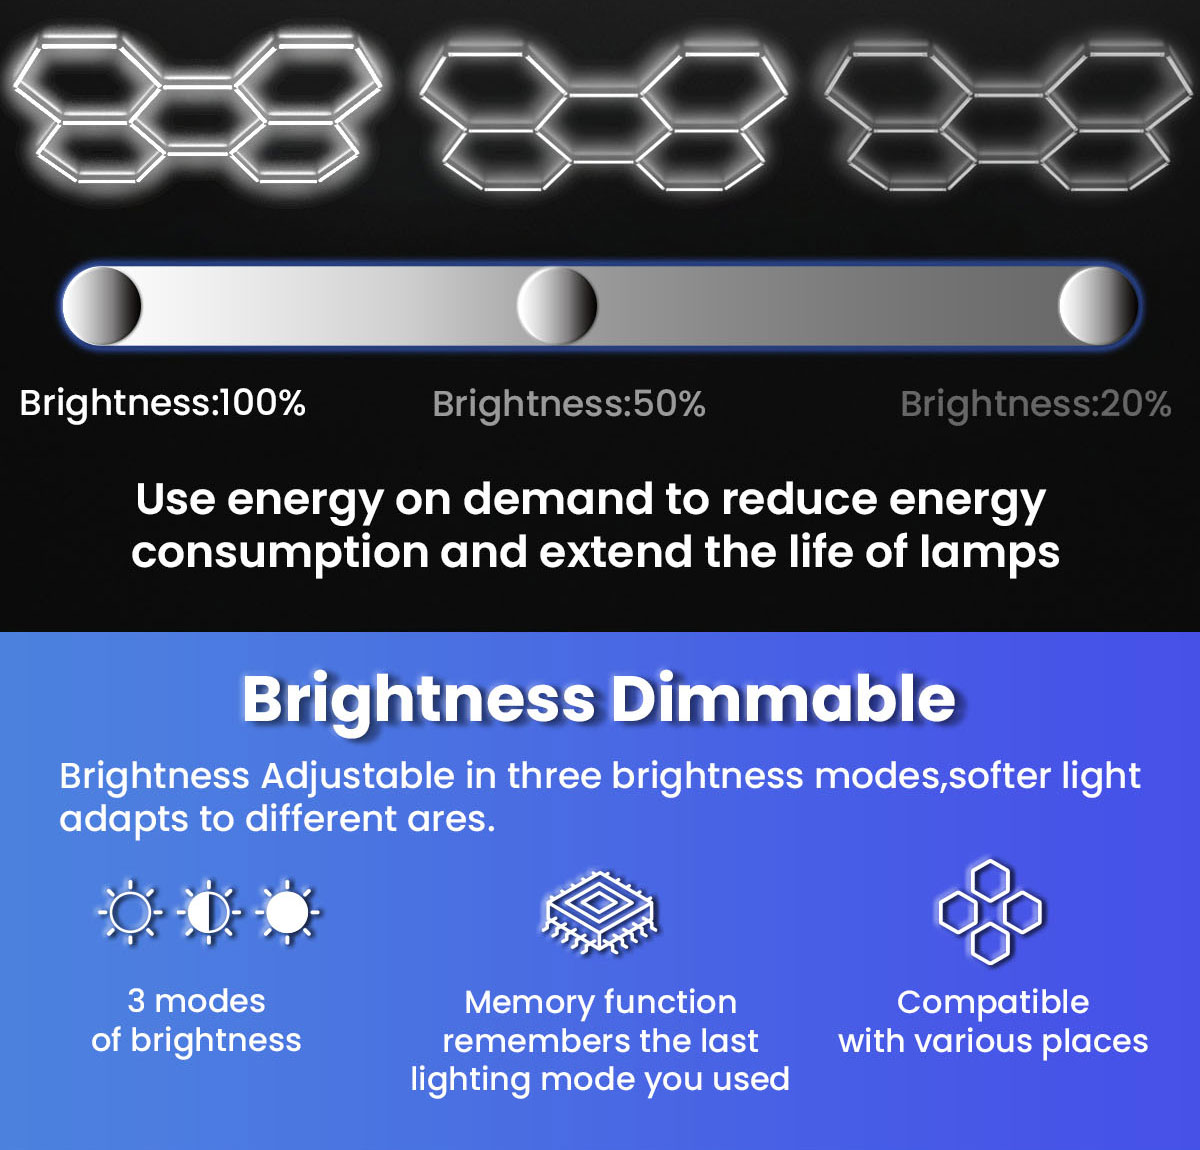
A: Most standard kits are strictly non-dimmable due to their basic transformer limitations. Dimming these large arrays requires specialized drivers. However, some premium custom setups do offer dimmable transformers, provided you install a compatible wall switch.
A: Yes, the modular connectors allow you to build rectangles, borders, or custom geometric clusters. However, you must carefully calculate the power draw for custom shapes to avoid overloading the designated power cord or transformer.
A: You should expect the installation to take between 2 to 4 hours. The exact timeframe depends heavily on your ceiling type. Working with a partner drastically speeds up the process of lifting and securing the assembled sections.


