


Views: 0 Author: Site Editor Publish Time: 2026-10-07 Origin: Site


Upgrading a workspace with modular hexagon lights is a massive trend in modern garage design. Getting the lighting just right can be tricky. Buy lights with too little power, and your workshop remains a dim cave. Install fixtures with excessive wattage, and harsh glare will bounce off your tools or freshly polished paint. The secret is balancing power consumption, light output, and room dimensions. Modern solutions like the 168W Hexagonal Garage Light Three-Stop Switch offer a perfect customizable balance. This guide breaks down exactly how much power you need per panel. We will also cover how to calculate total garage requirements and what to look for before buying.
Before diving into the math, it helps to understand where workshop lighting is heading. Recent industry data shows a massive shift away from raw wattage chasing. Five years ago, consumers wanted the highest wattage fixtures possible. This inevitably led to widespread complaints of thermal failure and visual fatigue. Today, the market trend heavily favors smart modulation and high luminous efficacy. Professional detailing studios and residential mechanics are upgrading to dimmable, multi-stage LED grids. This shift proves that adaptable controls hold much more value than brute-force brightness.
Individual Tube Wattage: High-quality LED tubes used in modular lighting draw between 5W and 8W. This makes them highly energy-efficient without generating excessive thermal loads.
Total Kit Sizing: A standard single-grid geometric lighting kit requires around 160W to 180W total to brilliantly illuminate a standard single-car bay.
Watts vs. Lumens: Wattage strictly measures electrical power consumption rather than visible brightness. Objective purchasing decisions should prioritize luminous efficacy.
Control is Key: Opting for systems with adjustable output mechanisms solves the common glare complaint. Variable controls allow for task-specific lighting adjustments.
Safe Wiring: Always calculate your total circuit amperage before linking multiple light grids together. This prevents overloading standard residential breakers.
When evaluating lighting systems, people often use wattage to judge brightness. This is an engineering mistake. To make a smart choice, you must separate electrical consumption from actual light output.
In geometric lighting, a panel usually refers to one individual LED tube rather than the entire assembled ceiling grid. Specifications stating wattage per panel indicate the electrical draw of the LED driver and diode array inside that single housing.
Modern Surface Mounted Device LED chips are highly efficient. An individual tube rarely needs more than 6W to 8W. These low-wattage tubes compound rapidly when connected into a massive grid. If a manufacturer uses cheap 12W tubes, a standard 24-tube system draws an excessive 288W. This generates unnecessary heat and stresses your power supply without improving visibility.
From a physics standpoint, watts measure energy consumption. Lumens measure the total quantity of visible light. With older incandescent bulbs, higher wattage meant higher brightness. In the modern LED era, that rule is dead.
The defining metric for workshop lighting quality is luminous efficacy. Brilliantly engineered lights produce more lumens while consuming fewer watts. Focusing on lumens reduces long-term electricity costs and minimizes thermal degradation of the fixtures.
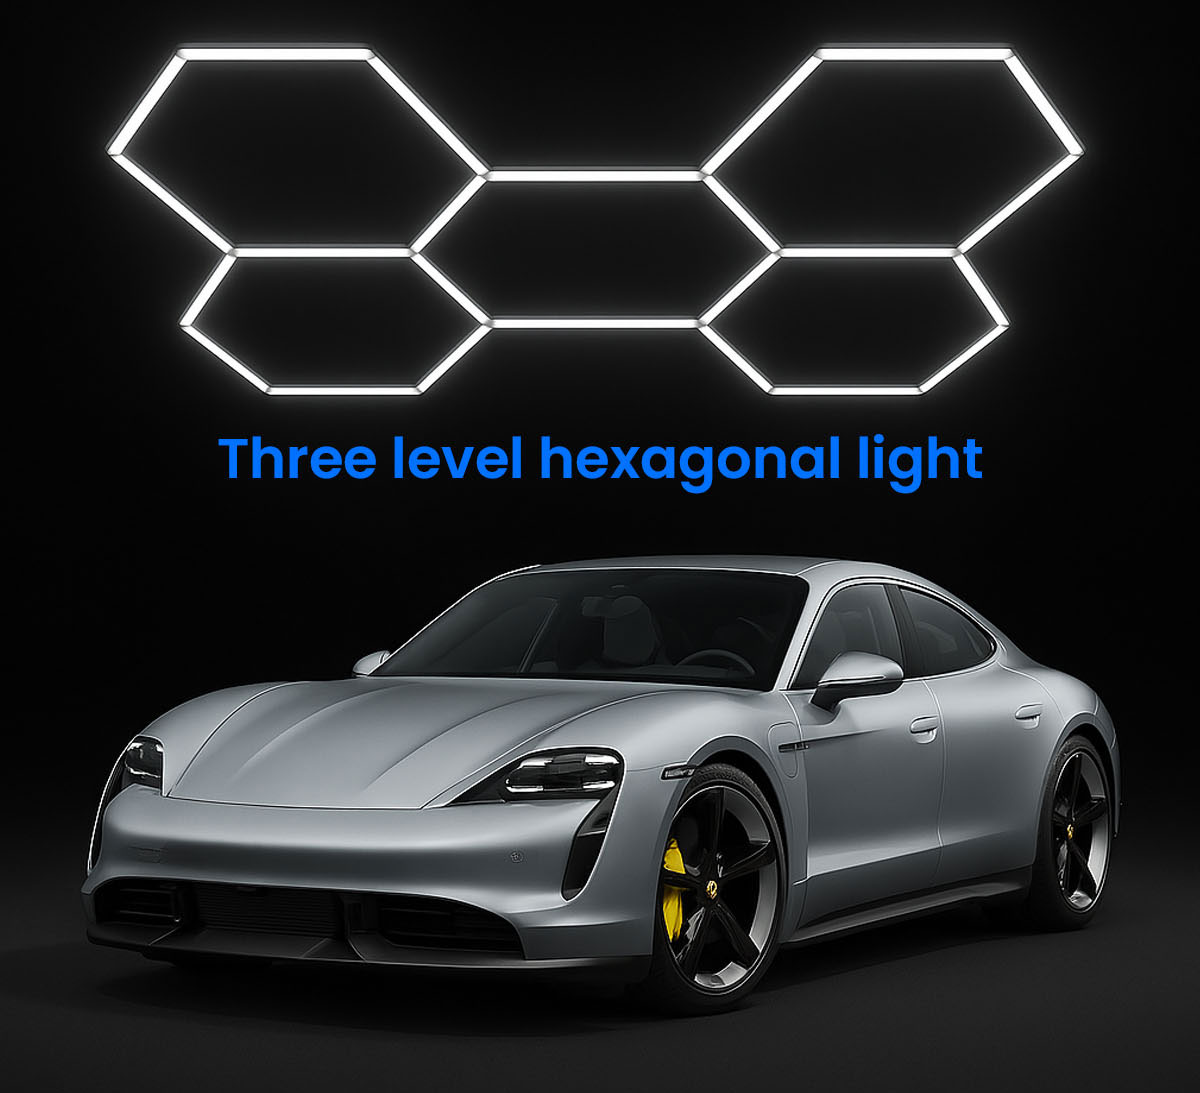
Determining precise power requirements means balancing intense task lighting against visual fatigue and electrical strain.
Through extensive thermal testing in detailing studios, lighting engineers agree that 5W to 8W per tube is the optimal range. If a tube drops below 5W, diode density is too low. This creates poor light penetration and harsh shadows on the floor.
Conversely, pushing past 8W creates major problems. High-wattage LEDs require massive aluminum heatsinks. Since standard light profiles are slim, excessive power causes diodes to overheat rapidly. Furthermore, these high-wattage tubes create concentrated glare points that cause severe eye strain.
When efficient tubes form a standard 14-hex ceiling grid, the total power draw lands perfectly between 160W and 180W. A properly configured 168W Hexagonal Garage Light Three-Stop Switch hits this exact target. It delivers ample task lighting for a standard 10x20 foot space without straining household circuits.
Feature | Cheap High-Wattage Kits | Engineered 168W Kits |
|---|---|---|
Power Per Tube | 10W - 15W | 6W - 8W |
Thermal Management | Poor. Plastic housing traps heat. | Excellent. Extruded aluminum heatsink. |
Glare Control | Harsh, blinding bare diodes. | Polycarbonate diffusers with multi-stage dimming. |
Circuit Load | High risk of tripping 15A breakers. | Safe 1.4A draw at 120V. |
Purchasing lights without calculating spatial requirements leads to dark corners or blinding glare. You need objective measurements to get this right.
The lumen-per-square-foot rule is the most accurate sizing method. Active workshops and detailing bays require 50 to 75 lumens per square foot. Specifically, multiply your total square footage by your target lumens. Once you have that number, divide it by the luminous efficacy of the fixture to find your target wattage.
Scaling your setup is straightforward. A standard one-car garage operates perfectly with a single 14-hex grid centered above the vehicle. A two-car garage requires two independent grids positioned parallel to each other. This prevents severe light drop-off at the edges. For a three-car space, meticulously calculate electrical loads to ensure multiple grids do not trip standard 15-amp breakers.
Standard calculations assume an 8-foot to 9-foot ceiling. The Inverse Square Law of light dictates that light intensity drops significantly as distance increases. If your workshop features 12-foot ceilings, a standard kit will appear dim at floor level. To fix this, increase your total lumen calculation by a 1.25 multiplier. You can easily achieve this by adding an outer rectangular border of LED tubes around the main grid.
A critical analysis must address the most common complaint found in consumer research. Geometric lights look stunning, but improper implementation ruins work efficiency.
Professional automotive forums reveal a consistent pattern of complaints about entry-level fixtures. The main issue is uncontrolled glare. Imagine laying under a car trying to polish a highly reflective clear coat. Intense light from bare LED strips creates harsh reflections that blind you. Users report that cheap high-wattage lights look great on camera but fail during actual labor.
To mitigate glare, premium systems employ high-density polycarbonate diffusers to scatter directional light. Pairing diffusers with integrated dimming capabilities transforms the workspace. Dynamic lighting switches from a relaxed ambient glow to intense inspection lighting. This adaptability is exactly why smart controls are the new industry standard.
Balancing intense detailing illumination with softer ambient light requires advanced controls. Single-stage systems force you into one permanent brightness level. This is deeply flawed for a multi-use garage.
A three-stop switch is a specialized interface designed for modular LEDs. Traditional analog dimmers often cause flickering and premature driver failure. In contrast, this switch regulates the power supply in precise stages. It divides output into three modes. Use 30% for ambient illumination. Switch to 60% for general mechanical work. Engage 100% for high-precision tasks like ceramic coating application where eliminating shadows is paramount.
The 168-watt baseline is meticulously calculated for standard electrical infrastructure. At 120 volts, a 168W load draws a mere 1.4 amps. This incredibly low amperage ensures the lighting will not compete with heavy machinery like air compressors. Running the system at the 60% or 30% stops exponentially increases LED driver lifespan by drastically reducing thermal loads.
Finding kits with correct thermal management and staging controls requires looking past generic marketplaces. For serious enthusiasts, the 168W Hexagonal Garage Light Three-Stop Switch provides a rigorously tested solution. Choosing purpose-built kits prevents electrical hazards associated with over-driven components.
Modular lighting is designed for expansion. However, electrical physics impose strict limits. Connecting multiple grids requires a solid understanding of circuit capacity.
Daisy-chaining means linking multiple tubes in a series off a single power source. The National Electrical Code mandates that continuous loads should not exceed 80 percent of a breaker capacity. A standard 15-amp circuit safely handles 1440 watts. While a dedicated circuit could handle multiple 168W kits, the bottleneck is the internal copper wiring of the light kit itself. These internal wires are typically rated for a maximum of 300W to 400W per power lead.
To safely power a multi-grid setup, map out your primary power leads. If installing three grids, do not run them in a single continuous line. Run separate power cables from the ceiling junction box to the starting point of each grid. Ensure all Y-connectors and elbow joints are pushed entirely flush. Loose connections create electrical arcing that melts the plastic housing.
Wattage and lumens are foundational. The actual longevity of a fixture depends heavily on physical construction and optical quality.
Housing material is a critical differentiator. LEDs project heat backward into the circuit board. Tubes built with extruded aluminum frames act as highly efficient heatsinks. They draw thermal energy away from the diodes. Conversely, all-plastic tubes trap heat. This accelerates LED chip degradation and leads to premature dimming.
Brightness means nothing if color rendering is inaccurate. For detailing studios, the objective standard is 6000K to 6500K. This mimics natural daylight perfectly. Warmer temperatures introduce a yellow tint that hides paint defects. Cooler temperatures introduce a blue tint that causes severe eye fatigue. Always verify a 6500K rating paired with a Color Rendering Index above 85.
Electronic component failure is always a statistical possibility. Evaluate the warranty as a practical risk-management step. Look for systems that are truly modular. If one small tube fails, you should be able to swap a single replacement part without disassembling the entire ceiling structure.
You do not need a thousand watts to light up a garage. You simply need efficient watts. Individual panels operate perfectly on 5 to 8 watts. A highly optimized full-grid system provides the ideal aggregate power without overwhelming your electrical panel. Functionality must meet visual aesthetics. Adjustable controls ensure your space serves as both a beautiful showroom and a highly functional workspace. If you are ready to upgrade, check out the top-tier 168W Hexagonal Garage Light Three-Stop Switch kits from Contation LED for a safe, brilliant, and fully customizable setup.
Yes, most high-quality hex light kits come with plug-and-play adapters designed for standard wall outlets. They feature built-in transformers that safely convert the wall current. For a seamless architectural look, a certified electrician can also hardwire these systems directly into a dedicated ceiling junction box.
A standard two-car garage typically covers about 400 square feet. Using the industry standard of 50 to 75 lumens per square foot, you need between 20,000 and 30,000 total lumens. Installing two independent 168W hexagonal grids will easily meet this requirement while providing balanced coverage across both vehicle bays.
They serve both purposes exceptionally well when configured correctly. When sized with the appropriate power draw and a 6500K color temperature, the geometric grid design casts light from multiple angles simultaneously. This multi-directional illumination eliminates harsh shadows and highlights micro-scratches. Utilizing a system equipped with a three-stop switch allows detailers to toggle effortlessly between different working modes.
This metric depends strictly on the manufacturer specified wattage limits and internal wiring gauge. Generally, a single standard power cord can safely support one full 14-hex grid. If you intend to expand the grid across a larger ceiling, you must use additional power supply cords routed to different starting points to prevent overloading the wires.
No, modern LED technology is incredibly energy-efficient. Running a 168W Hexagonal Garage Light Three-Stop Switch system for five hours a day consumes exactly 0.84 kilowatt-hours. Based on average electricity rates, this translates to an operational cost of merely a few cents per day. The low power draw makes it a highly cost-effective upgrade.
No. Premium workshop lighting systems are inherently modular. If a single LED tube fails, you do not need to dismantle the entire ceiling structure. You can simply unclip the specific dead tube from its corner joints and snap a replacement wand into place. Replacing a single unit is inexpensive and mechanically straightforward.
The installation process is surprisingly accessible for DIY enthusiasts. The standard procedure involves assembling the geometric grid on the floor to ensure all connections are secure. Once assembled, the lightweight structure is lifted to the ceiling and secured directly to the drywall using simple anchors and screws.


