


Views: 0 Author: Site Editor Publish Time: 2026-08-18 Origin: Site


In the high-end auto detailing industry, lighting is never just an environmental necessity. It functions as a critical diagnostic tool and a major driver of perceived shop value. Clients instinctively judge the professionalism of your workspace based on its visual clarity. We are seeing a rapid shift away from traditional fluorescent tubes and generic warehouse fixtures. Today, professionals demand purpose-built LED panels to expose every surface flaw. These advanced systems prevent swirl marks from hiding in the shadows.
This comprehensive guide provides actionable LED detailing light panel ideas, strict evaluation frameworks, and proven layout strategies. Studio owners will discover exactly how to upgrade their infrastructure for maximum diagnostic power. You will learn to transform an ordinary bay into a high-performance precision workspace.
Generic lighting setups severely limit your detailing potential. Point-source lights shoot a single intense beam. This creates blinding glare on the clear coat. It also casts harsh shadows across the vehicle workspace. You cannot see fine swirl marks easily. High spots in fresh ceramic coatings remain completely hidden. You end up missing critical flaws. Natural sunlight eventually reveals what your shop lights missed. This leads to frustrated customers returning for rework.
Poor lighting also distorts true paint color. This happens when the light source has a low Color Rendering Index. Mismatched touch-ups occur frequently under these conditions. Final inspections often fail when the client sees the car outside. You cannot accurately judge the depth of a scratch if the light washes out the panel.
Subpar illumination directly hurts your business reputation. You miss critical paint defects during the correction phase. Customers inevitably complain about swirl marks in the sun. You eventually lose your premium pricing power. High-end studios rely on flawless, uniform lighting. They use it to justify their high-ticket detailing services. Upgrading your fixtures immediately boosts your perceived market value.
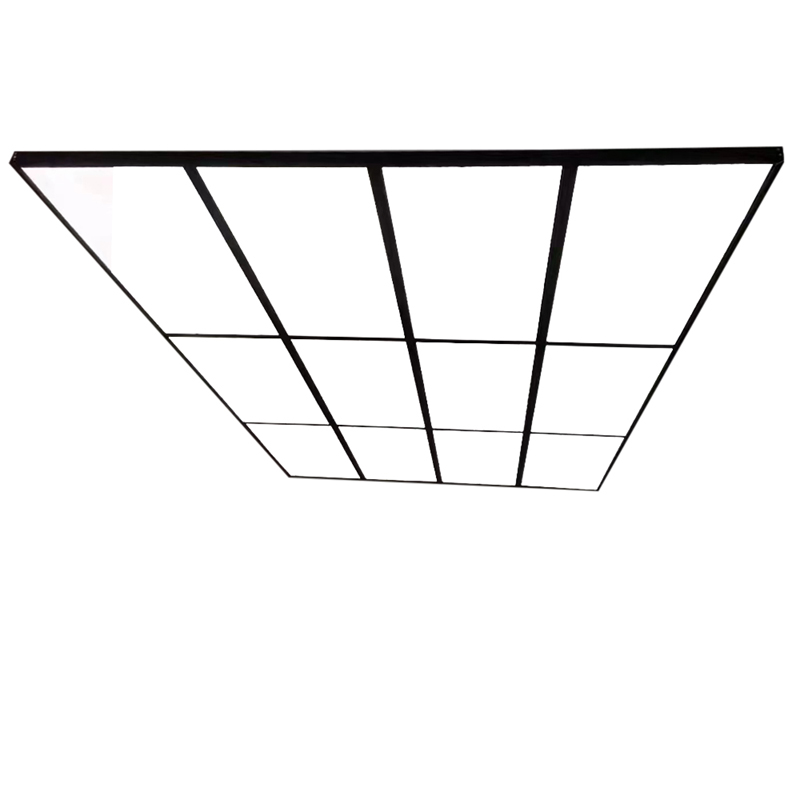
There are three primary lighting configurations for detailing bays. Each layout serves a highly specific operational purpose. Let's explore them in detail.
You must evaluate lighting fixtures based on strict technical specifications. Avoid buying lights based on aesthetics alone. True performance lies in the underlying data.
Lighting Specifications for Professional Detailing Bays
| Specification Metric | Professional Threshold | Primary Business Impact |
|---|---|---|
| Color Rendering Index (CRI) | 90+ (Ideally 95+) | Ensures accurate color matching and reliable defect spotting. |
| Color Temperature | 5000K to 6500K | Mimics natural daylight for authentic visual inspections. |
| Usable Brightness | Measured in Lux (on surface) | Determines actual visibility rather than theoretical output. |
| Ingress Protection | IP65 (Wet) / IP44 (Dry) | Guarantees safety and prevents premature fixture failure. |
Let's break down these critical metrics further.
Installing advanced lighting systems involves several practical challenges. You must plan for your specific physical environment. Ignoring these realities leads to costly rework.
Ceiling Height Constraints
Wiring and Load Balancing
Wiring requires careful professional attention. Never daisy-chain too many cheap panels together. They overload a single circuit very easily. We highly recommend hiring an electrician for the installation. Ensure they use proper gauge wiring. Always check your fixtures for UL or CE certifications. This essential step mitigates dangerous fire risks. Detailing studios draw significant power. Plan your breaker boxes accordingly.
The Cheap Import Trap
Avoid the cheap import trap entirely. Low-cost, unbranded panels flood the detailing market. They suffer from rapid LED diode burnout. They also flicker constantly under camera lenses. This flickering completely ruins your promotional video content. Smartphones pick up this strobe effect immediately. Furthermore, their cheap plastic housings often sag after just six months. The thermal expansion warps the diffusers permanently. Invest in commercial-grade gear instead.
How do you choose the right fixtures for your specific needs? You need a reliable framework. Selecting standard car detailing shop lights requires careful operational planning.
First, assess the primary bay function. Is it a dedicated wet bay for washing and prep? Is it a dry bay reserved for paint correction and PPF? Or is it a pristine delivery and photo bay? Each zone requires a different lighting approach. Wash bays prioritize waterproofing. Correction bays prioritize extreme defect visibility. Showrooms prioritize aesthetic geometry.
Second, budget carefully for future scalability. We advise starting with a flexible modular system. Interconnectable linear or hexagon panels work exceptionally well. They allow you to expand the lighting footprint easily. You can add more units seamlessly as your studio revenue grows. You do not need to outfit the entire shop on day one.
Finally, prioritize warranty and vendor support. Look for established brands offering 3-to-5-year warranties. Check if they provide accessible replacement diodes. Rely on US or EU-based customer support teams. Equipment eventually fails in tough shop environments. You need a vendor who answers the phone. This peace of mind matters far more than marginal upfront cost savings.
An upgraded lighting system is a direct investment in quality control. It elevates your brand perception instantly. It gives your technicians the ultimate diagnostic tool. Professional lighting justifies your premium service pricing. It shows clients you care about perfection.
Audit your current bay lighting today. Evaluate your fixtures using the CRI metrics discussed above. Look closely for lingering shadow blind spots. Assess how your current setup performs on vertical panels.
Take direct action to improve your studio lighting setup:
A: The optimal color temperature ranges from 5000K to 6500K. This specific range perfectly mimics natural daylight. It allows technicians to spot micro-scratches and verify true paint color accuracy without eye strain.
A: They perfectly balance both functions. Hexagon grids provide excellent shadowless, multi-directional light. They wrap the vehicle in even illumination. However, you must ensure the CRI and diffusers are commercial grade.
A: Yes, you can use them effectively. They must feature a high CRI rating and an opaque diffuser to reduce glare. We also recommend pairing them with angled perimeter lights for vertical panel polishing.
A: Frame your requirements in terms of lux rather than raw lumens. You need to measure the usable light reaching the car's surface. Standard two-car bays typically require high-lux outputs concentrated directly over the correction zones.


