


Views: 0 Author: Site Editor Publish Time: 2026-08-17 Origin: Site


Viral geometric lighting setups dominate social media today. You often see them highlighting high-end garages and luxury vehicles. This saturation causes natural skepticism. Online communities increasingly complain about aesthetic fatigue. We must separate flashy social media trends from functional reality. Can these grid systems actually handle heavy-duty tasks? Do they also work for ambient storage illumination? This article delivers an evidence-based evaluation. We examine actual light distribution and real-world installation challenges. You will learn the true use-case suitability for these setups. Our objective is simple. We want to help potential buyers make informed decisions. We strip away the marketing hype. Instead, we focus on engineering logic, practical performance, and electrical safety. You will discover exactly where these setups excel and where they fall short.
You must look past the striking visuals to understand the engineering. Traditional bulbs cast harsh, single-directional shadows. A single overhead light source creates dark zones. When you lean over a workbench, your body blocks the light. Interlocking grids solve this specific problem. They push light from multiple angles simultaneously. Light arrives from your left, your right, and directly above. This structural multi-directional approach eliminates single-source shadows. You gain incredible visibility for fine mechanical tasks.
Lumen density plays a massive role in this performance. A standard 5-grid system usually produces over 20,000 lumens. This output easily covers a typical two-car footprint. The modular tubes distribute this massive lumen load across a wide surface area. You do not get the blinding focal points common in older shop lights. The illumination spreads evenly across the entire floor plan. This density ensures every corner receives adequate coverage. It transforms dark, dingy spaces into brightly lit environments.
People often dismiss these setups as just visual hype. We firmly validate that skepticism. They do look highly modern. You often see them labeled as pure garage candy. However, their real value lies in uniform light dispersion. You get unmatched clarity across large spaces. This makes honeycomb LED lights highly functional for daily use. They provide genuine engineering benefits for active workspaces. You buy them for the shadow reduction. The modern aesthetic is just a secondary bonus.
Precision work requires specific lighting parameters. Color temperature dictates how well you see details. The standard 6500K rating provides a crisp daylight white. You need this exact temperature to spot paint defects. Warm lighting hides scratches and imperfections. Daylight white exposes them clearly. Professionals rely on 6500K to catch swirl marks and fluid leaks instantly. It prevents eye strain during long hours of meticulous work.
Overhead grid reflections serve a distinct purpose in automotive care. The geometric shapes reflect directly onto a vehicle's clear coat. This reflection acts as a rigid visual guide. You see exactly where polish compounds break down. You can trace the straight lines of the reflection to identify dents or uneven body panels. Proper car detailing lights must provide this sharp contrast. The continuous grid lines make paint correction significantly easier and more accurate.
Mechanical task lighting also benefits from this wide-angle illumination. Ambient light typically drops off sharply under vehicle hoods. Standard ceiling lights fail to penetrate engine bays. The wide grid structure pushes light deep into the chassis. You can clearly see recessed bolts and hidden wiring harnesses.
Here are the core functional benefits for precision zones:
When you install hexagon garage lights above a dedicated workspace, you fundamentally upgrade your efficiency. You spend less time moving portable work lamps around the shop.
You face a specific risk when lighting storage spaces. Over-illumination creates genuine problems. Placing 26,000+ lumens in a low-traffic corner causes severe glare. It also wastes energy. You do not need daylight intensity just to find plastic storage bins. Massive lumen dumps bounce off shelving units. This creates uncomfortable visual hot spots. We must approach storage lighting with restraint.
Zoning and scaling offer the perfect solution. You can easily use partial kits for these areas. A simple 2-grid section works perfectly over a row of shelving. You maintain the overall aesthetic but control the output. Modular designs let you build linear border variations. You can string single tubes together to wash a back wall. This strategy illuminates the storage bins without overwhelming the entire space. It keeps the functional design consistent across the ceiling.
Switching and circuits dictate daily practicality. You should separate work zones from storage zones. Put them on entirely different electrical switches. You only turn on what you need at any given moment. If you just need a tool from the back shelf, you only fire up the storage zone. You save energy. You extend the lifespan of your main work grid. A single hexagonal light setup can be divided into multiple controllable quadrants.
Recommended Zoning Strategies
| Zone Type | Recommended Layout | Ideal Lumen Density | Primary Function |
|---|---|---|---|
| Detailing Bay | Full 5-Grid to 7-Grid Array | 70-100+ Lumens per Sq Ft | Maximum shadow reduction and paint inspection. |
| Mechanical Bench | 3-Grid Center Cluster | 50-70 Lumens per Sq Ft | High-visibility task work and tool organization. |
| Passive Storage | 1-Grid or Linear Border | 20-30 Lumens per Sq Ft | Ambient navigation and basic visibility. |
You must evaluate your mounting surfaces before buying anything. Installation differs wildly based on ceiling type. Finished drywall allows for true flush mounting. You can screw the connectors directly into the ceiling. This creates a seamless, built-in appearance. Open joists or rafters present a different challenge. You cannot flush-mount easily across empty gaps. You must use suspension cables. Alternatively, you can build a custom wooden frame. Suspension requires precise leveling. It takes significantly more time.
Connector fragility catches many buyers off guard. The plastic Y and V connectors represent the most common failure point. Buyers often snap them during assembly. They force the aluminum tubes in at bad angles. You must handle them properly to avoid breaking the internal pins. Push the tubes straight into the connector. Wiggle them gently. Do not twist or torque them. Building the grid on the floor first often prevents these breakages. You can ensure every connection seats perfectly before lifting it.
Electrical safety requires strict compliance. Manufacturers often market these as simple plug-and-play kits. However, plug-in limits exist. Massive grids draw substantial power. You must check existing circuit amp loads. A standard 15-amp breaker handles about 1440 watts continuously. Ensure your new grid does not overload a shared circuit. Large commercial setups often require hardwiring. We highly recommend consulting an electrician for grids exceeding five sections.
Follow these structural steps to mitigate installation risks:
You need clear criteria before upgrading. Minimum ceiling height matters immensely. These grids perform best at heights between 8 and 12 feet. Lower ceilings cause blinding glare because the light source sits too close to eye level. Taller ceilings diffuse the light too much. You lose the sharp reflective lines needed for detailing. Your primary garage use also dictates the upgrade. Daily workshops and active detailing bays justify the premium cost. Passive storage spaces generally do not.
You should compare alternatives honestly. Standard 4ft or 8ft linear LED shop lights cost significantly less upfront. They provide excellent raw brightness. However, they lack visual impact. They also fail to provide multi-directional shadow reduction. Single tubes cast single shadows. If budget acts as your strict limiting factor, standard battens work well. If you demand premium visibility and modern aesthetics, the grid becomes necessary.
Shortlisting your next steps keeps the process organized. You must measure your exact square footage. Map your existing electrical outlets and light fixtures. Determine your required lumen-per-square-foot baseline. High-end detailing requires over 80 lumens per square foot. Basic hobby work requires around 50. Once you know these numbers, you can select the right kit. You ensure your new hexagonal LED lights fit your physical and functional needs perfectly.
Upgrading Comparison Chart
| Feature Matrix | Hexagon Grids | Standard Linear LEDs |
|---|---|---|
| Light Distribution | Multi-directional (360-degree spread) | Bi-directional (Downward focused) |
| Shadow Cast | Minimal to None | High (Single source blocking) |
| Aesthetic Impact | Premium / Showroom style | Utilitarian / Basic |
| Installation Difficulty | Moderate to High | Low (Simple daisy chain) |
Hexagon grids operate as highly functional dual-purpose solutions. They excel in precision work zones by eliminating shadows. They also serve well in ambient spaces, provided you scale the layout appropriately. You must match the lumen output to the specific zone. Over-illuminating a simple storage corner creates glare and wastes energy. Scaling partial kits solves this entirely.
We strongly recommend planning your grid layout before purchasing. Map your ceiling joists carefully. Verify your electrical circuit capacities. Build a scaled drawing of your work zones versus your storage zones. Taking these steps mitigates buyer's remorse completely. You ensure the final installation fits the exact structural reality of your garage.
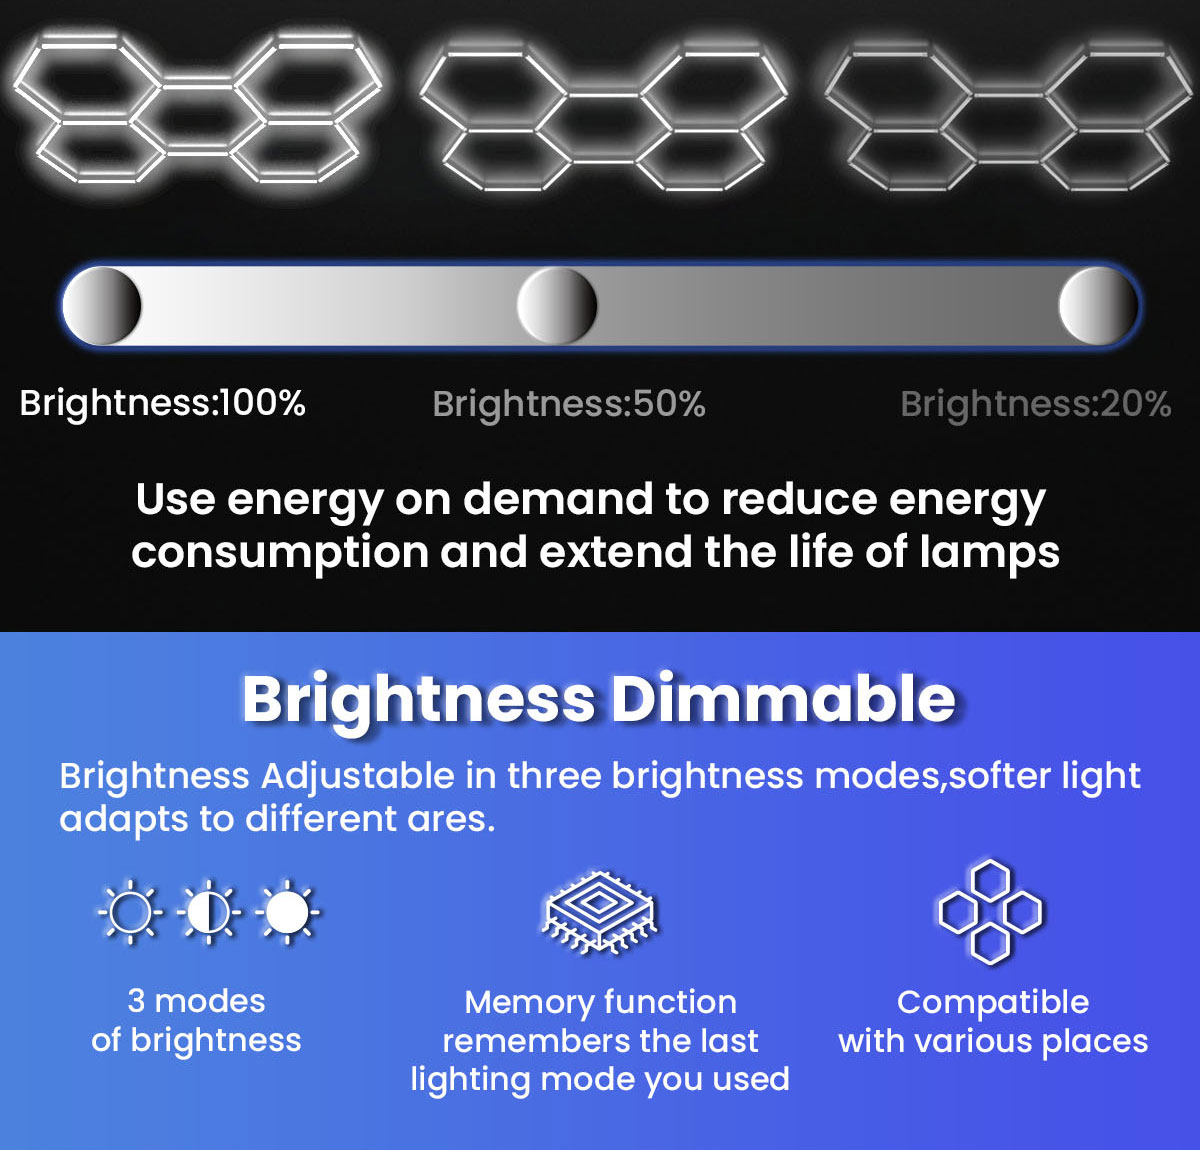
A: Most standard kits are non-dimmable due to their basic driver design. The internal components operate strictly on full power. If you require dimming capabilities, you must seek out specific premium models. These premium kits include specialized LED drivers and compatible wall switches. Always verify dimmability in the manufacturer specifications before purchasing.
A: The replacement process is completely modular. You do not need to dismantle the entire ceiling grid. You simply unplug the dead tube from its adjacent plastic connectors. You snap a new replacement tube into the same slot. The rest of the grid remains fully functional during this quick swap.
A: Yes, but it requires extra hardware. You cannot flush-mount them on a severe slant without distorting the light cast. You must use adjustable suspension cables. These cables drop down from the vaulted ceiling. You adjust each cable length to ensure the final grid hangs perfectly level across the space.
A: They remain highly energy-efficient despite their brightness. A standard 5-grid system typically runs between 140W and 200W total. This draws roughly the same power as two old incandescent light bulbs. They utilize modern LED technology to convert minimal wattage into massive lumen output, keeping your electrical bills low.


